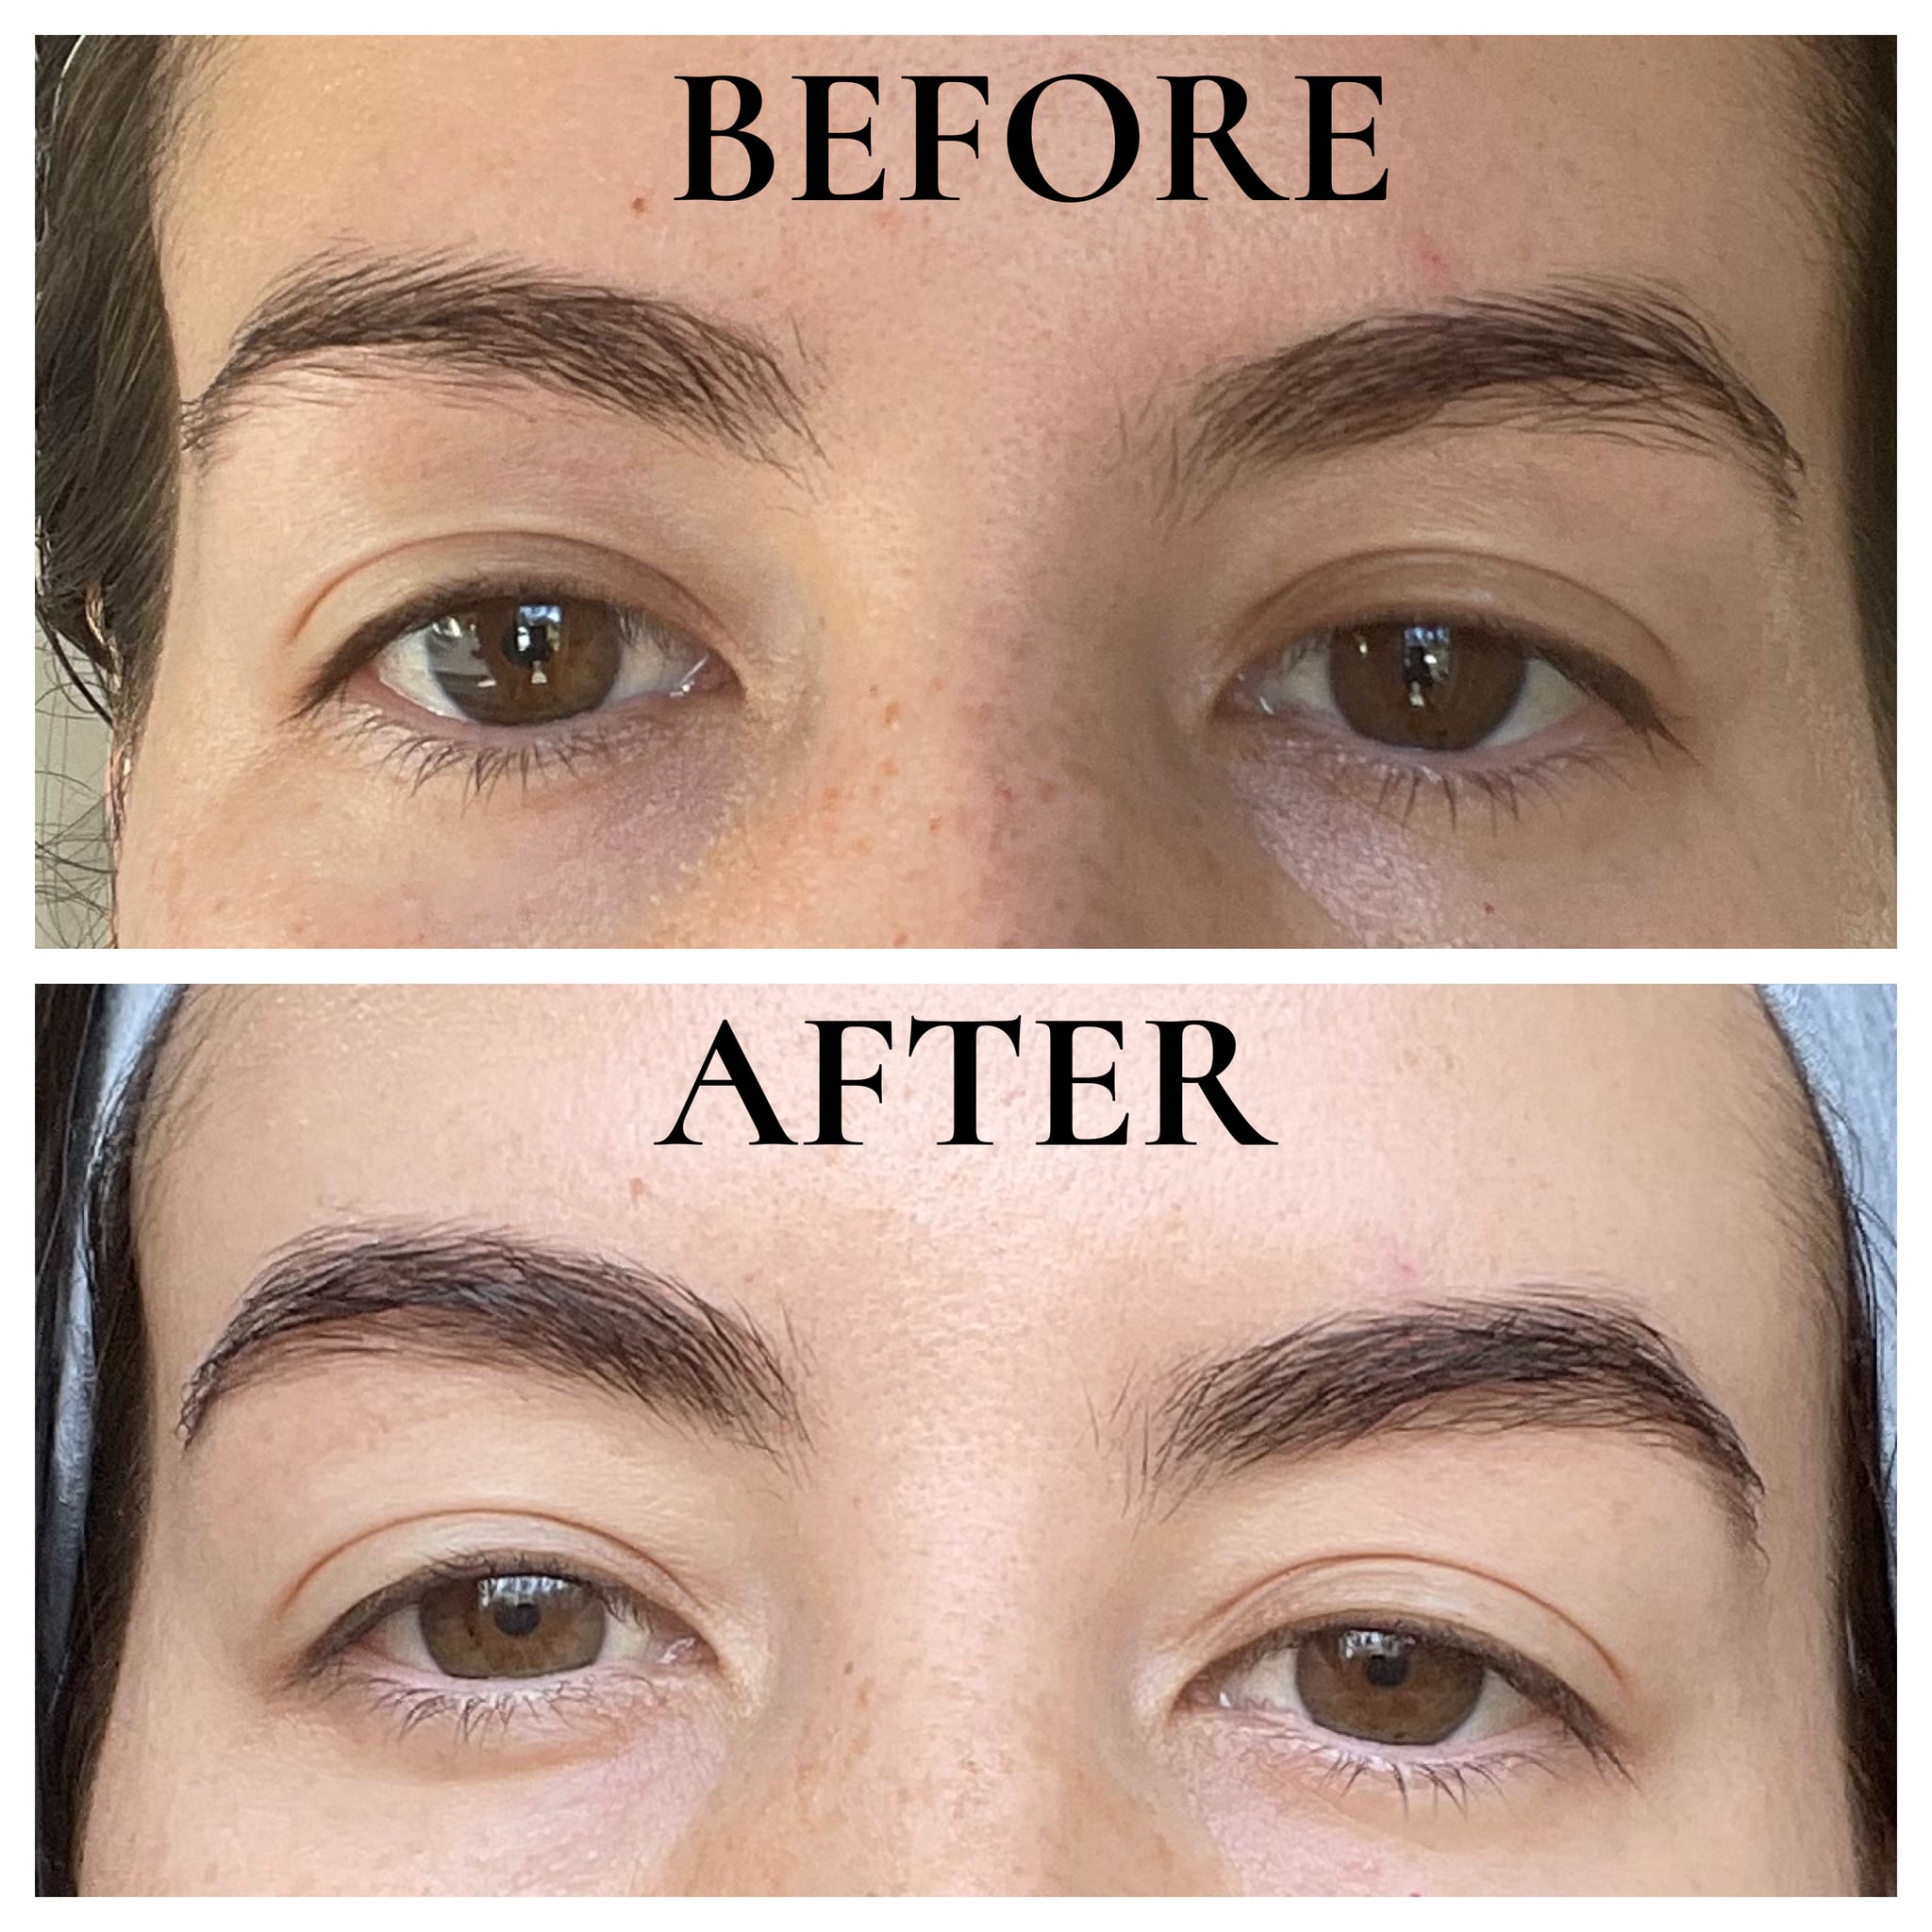
- Gigi Adon, a licensed esthetician, shared her tips for tinting your brows at home using Brow Code’s At-Home Tint Kit.
- Supplies you’ll need include an eyebrow-tint kit, a disposable mascara wand, an angled eyebrow brush, cotton rounds, a gentle cleanser or micellar water, Vaseline or Aquaphor, and Q-Tips.
- One editor tested her tips and the tint kit, and she was impressed with the results.
I’ve been on a brow-growth journey for the last two years. In an effort to finally be free of the over-plucked eyebrows I’ve had for most of my life, I’ve started putting some serious thought into how I treat my eyebrows. I’ve been using an eyebrow-growth serum, I’ve stopped plucking, and I’ve been keeping up with monthly appointments to get my eyebrows waxed and tinted.
Unfortunately for me, for the last three months, I’ve been 381 miles away from the only person I trust to touch my brows — which means they have not been looking good. While I don’t think I have the skills to wax my eyebrows on my own, I thought I could tint them if I had guidance from someone I truly trusted. Ahead, Gigi Adon, licensed esthetician (and the person responsible for my brow glow-up), takes us through the best way to tint your eyebrows at home.
Tools You Need to Tint Your Brows at Home
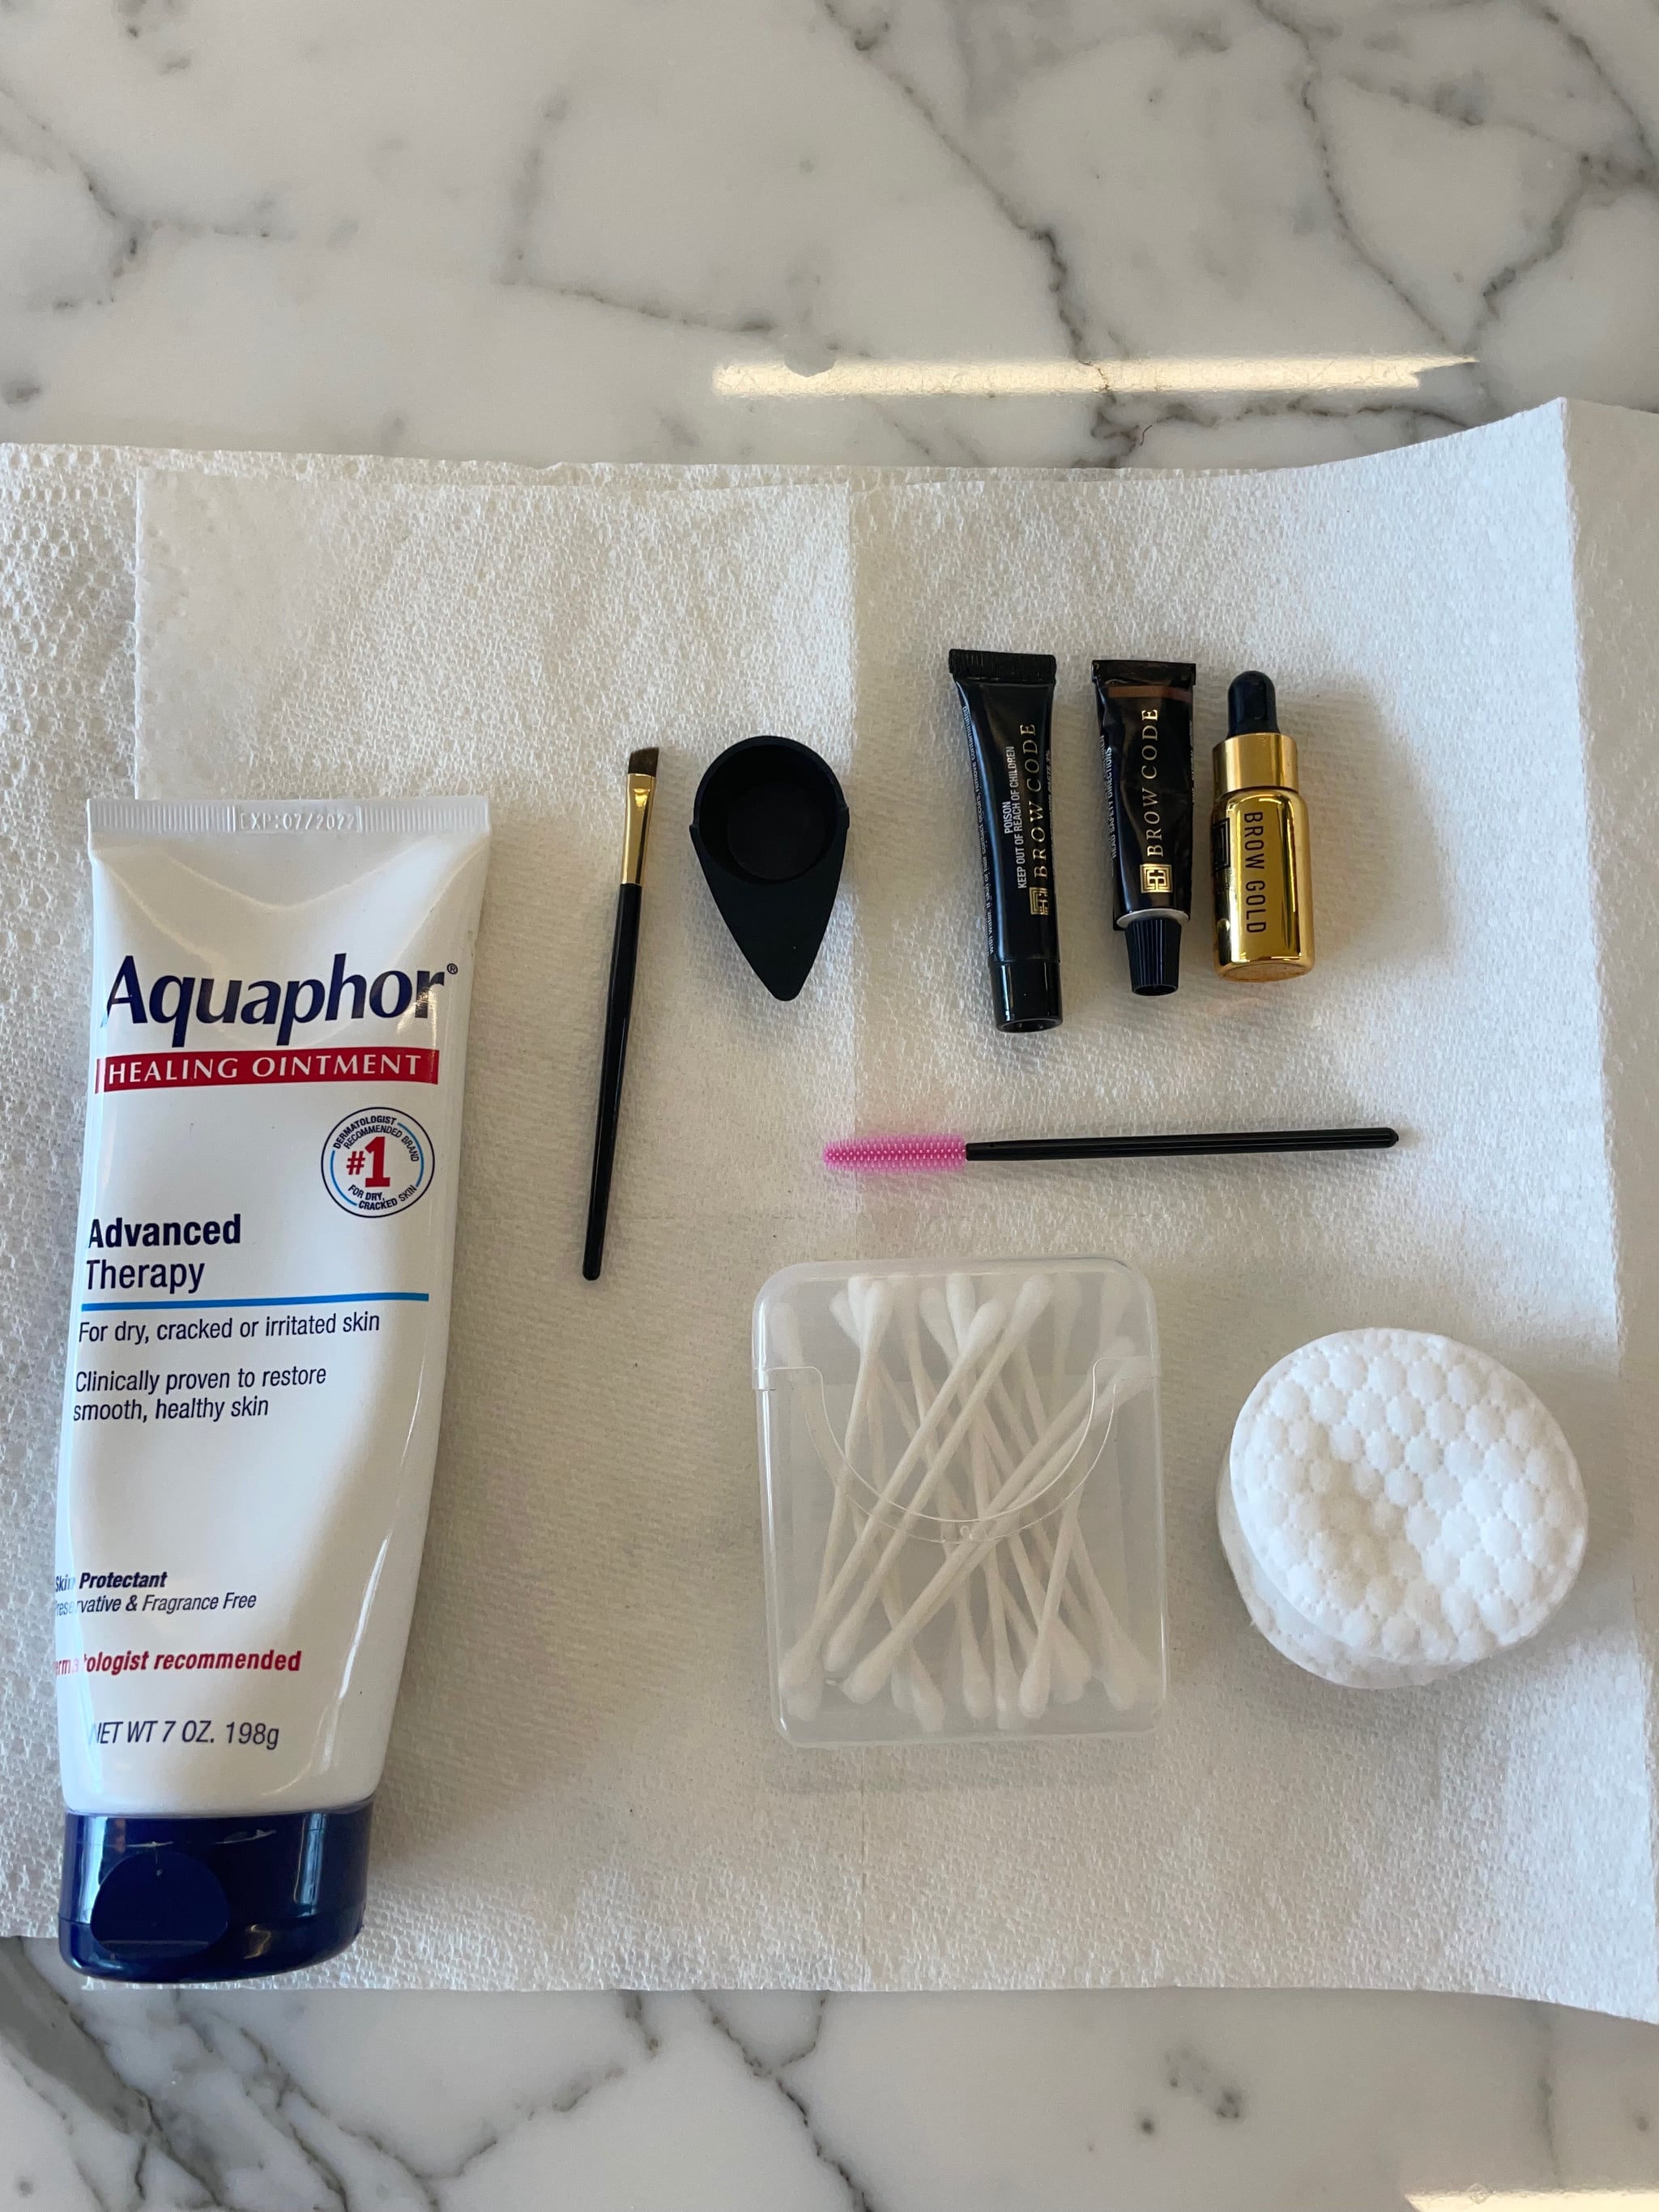
“In order to successfully tint your eyebrows at home, you will first need a tint kit of your choice, a disposable mascara wand, an angled eyebrow brush, cotton rounds, a gentle cleanser or micellar water, Vaseline or Aquaphor, and Q-Tips,” Adon tells POPSUGAR.
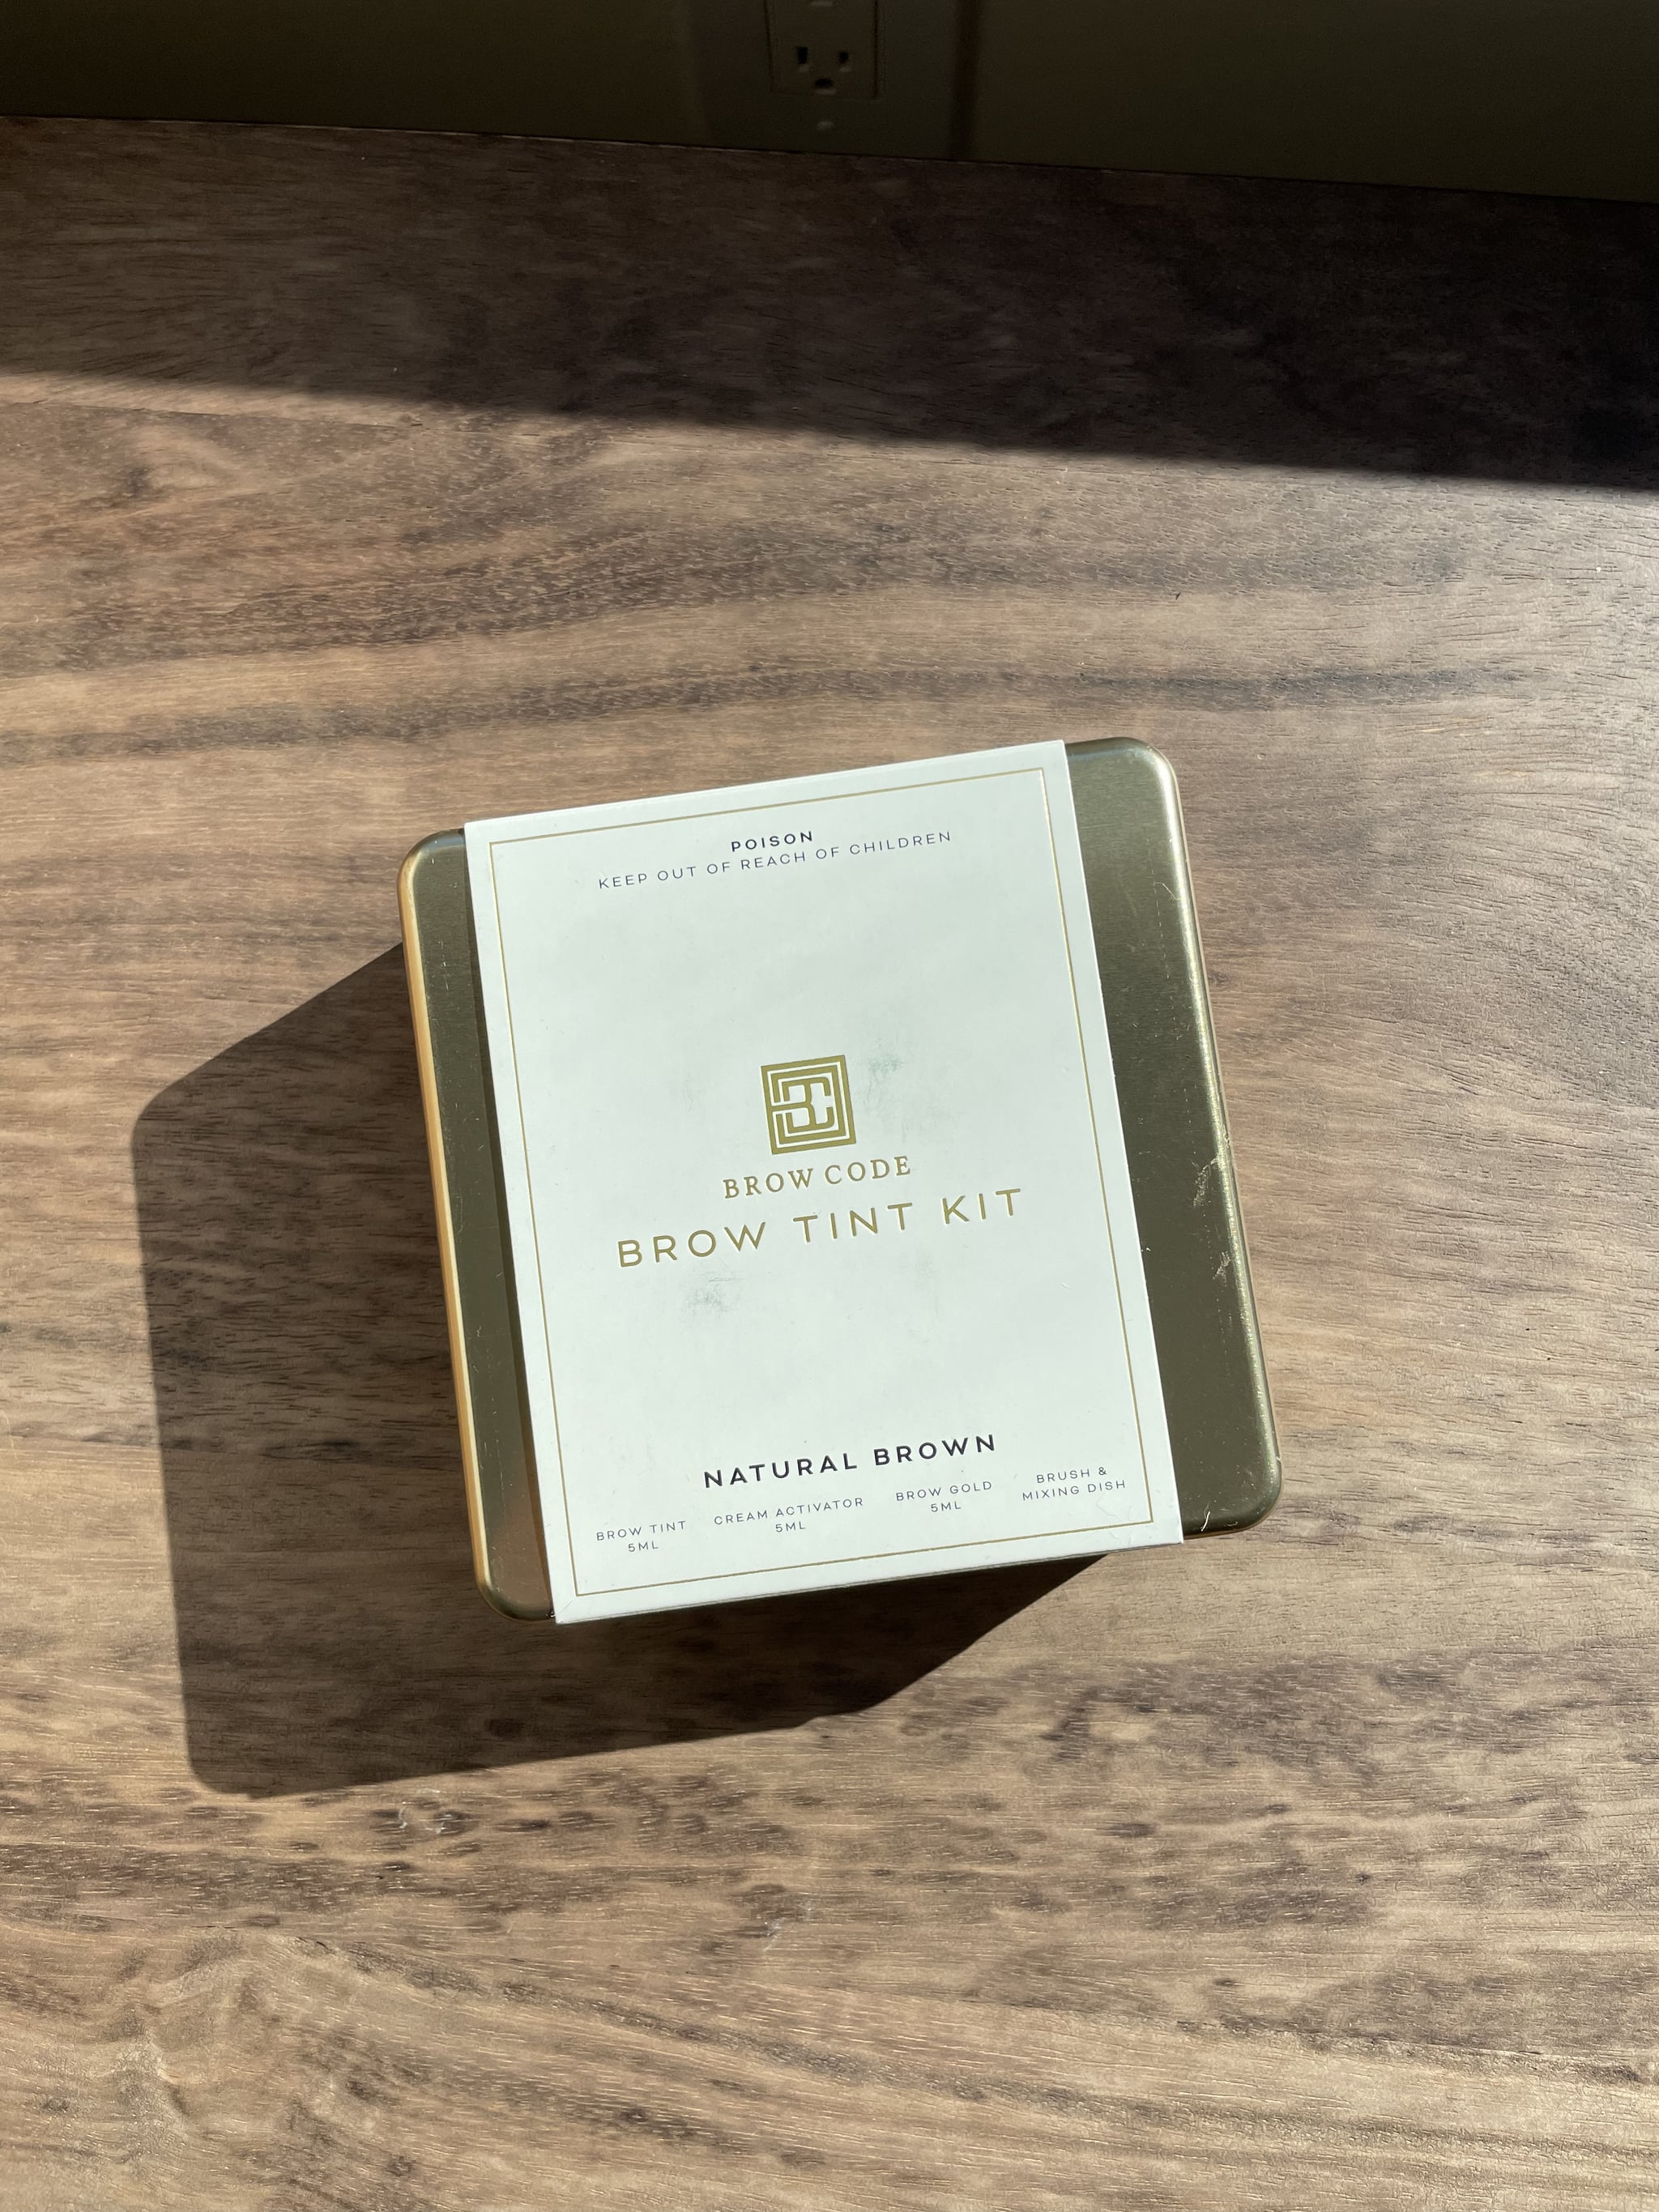
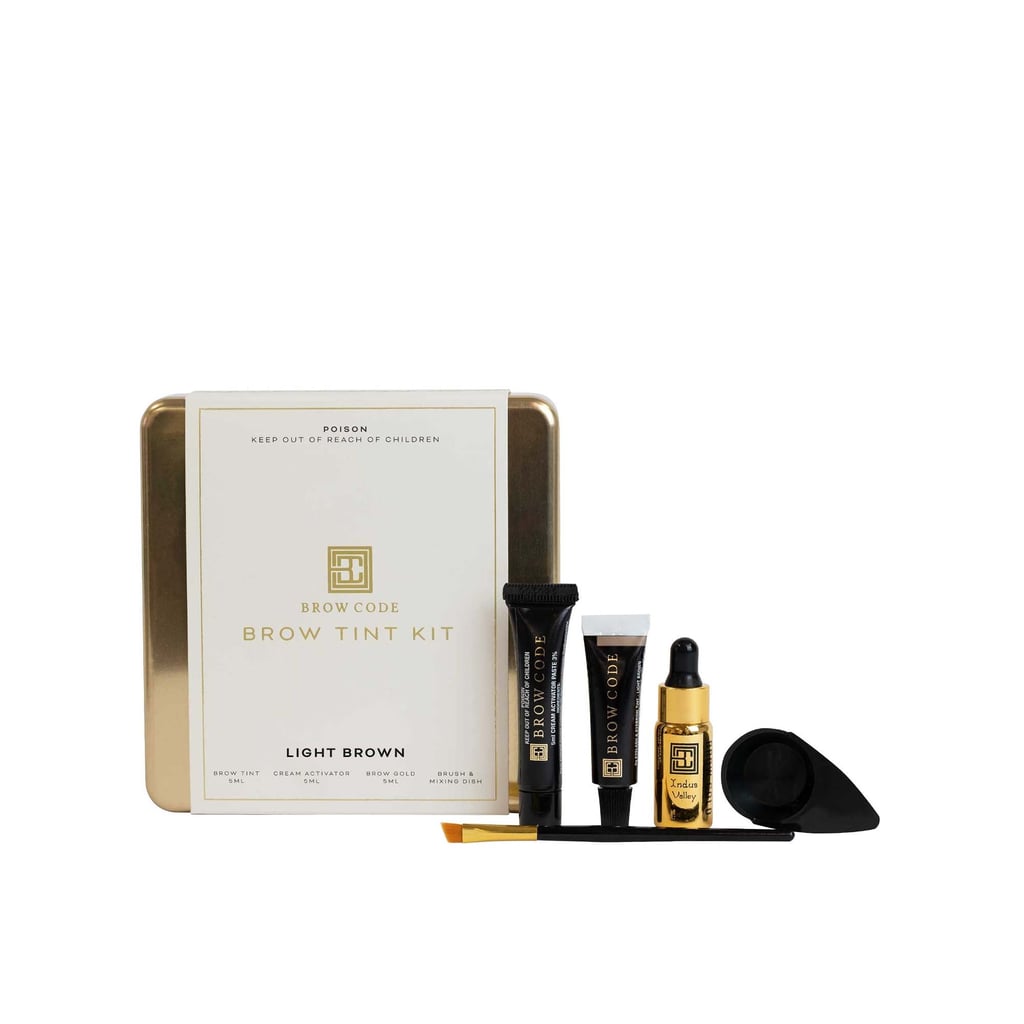
Since Adon uses tint products from Brow Code when she tints my eyebrows at her salon, I opted to use the brand’s At-Home Brow Tint Kit ($50). Adon says of the brand, “I highly recommend Brow Code’s tinting line. I have been using their products on my clients for the past two years and truly love their rich pigments and undertones. They are spot on! My favorite part about their tint is that a little goes a long way.”
Brow Code’s At-Home Brow Tint Kit comes with brow tint, a cream activator, a mixing dish, an application brush, and a nourishing growth oil. I grabbed the other items Adon said I would need and laid everything out on my kitchen table.
How to Prep the Eyebrows Prior to Tinting
According to Adon, there are four steps to complete prior to tinting your brows at home. “First, you will need to complete an allergy patch test. Apply a tiny amount of the mixed product behind your ear. If you start to feel a burning or irritating sensation, stop immediately.”
Adon had used Brow Code’s tint on me in the past, but I still opted to do the allergy test. I didn’t notice any issues, so I continued on to the next steps.
“Next, clean the eyebrow and surrounding area with micellar water or a gentle cleanser and pat dry,” says Adon. “Then, brush your brow hairs up [using your disposable mascara wand]. After, outline your eyebrow with Vaseline or Aquaphor in order to create a sharp outline between the skin and the dye.” Since I was a little nervous about getting the dye in the wrong places, I opted to use a large amount of Aquaphor to outline my eyebrow and make sure the color only stained the areas I wanted it to.
How to Apply the Brow Tint
Next, Adon says, “Mix equal parts of the Brow Code tint and the cream activator, approximately a quarter-teaspoon of each. Mix for about a minute until you see a creamy consistency. Using an angled eyebrow brush, apply an even layer of tint over one eyebrow.”
I was a little nervous about the color when I first began mixing the tint and activator; it was lighter than I’d been expecting. However, the longer I mixed, the darker the color became. I applied it all over one brow, and I found that the Aquaphor outlining my brow helped me keep everything in the right place.
“Remove excess tint around the eyebrow with a Q-tip for a sharper result,” continues Adon. “Let the tint sit for about three to four minutes. Then, remove the tint by using a cotton round and repeat the entire process on the other eyebrow.”
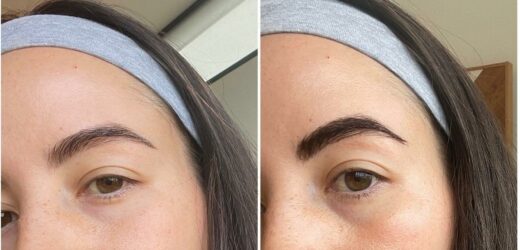
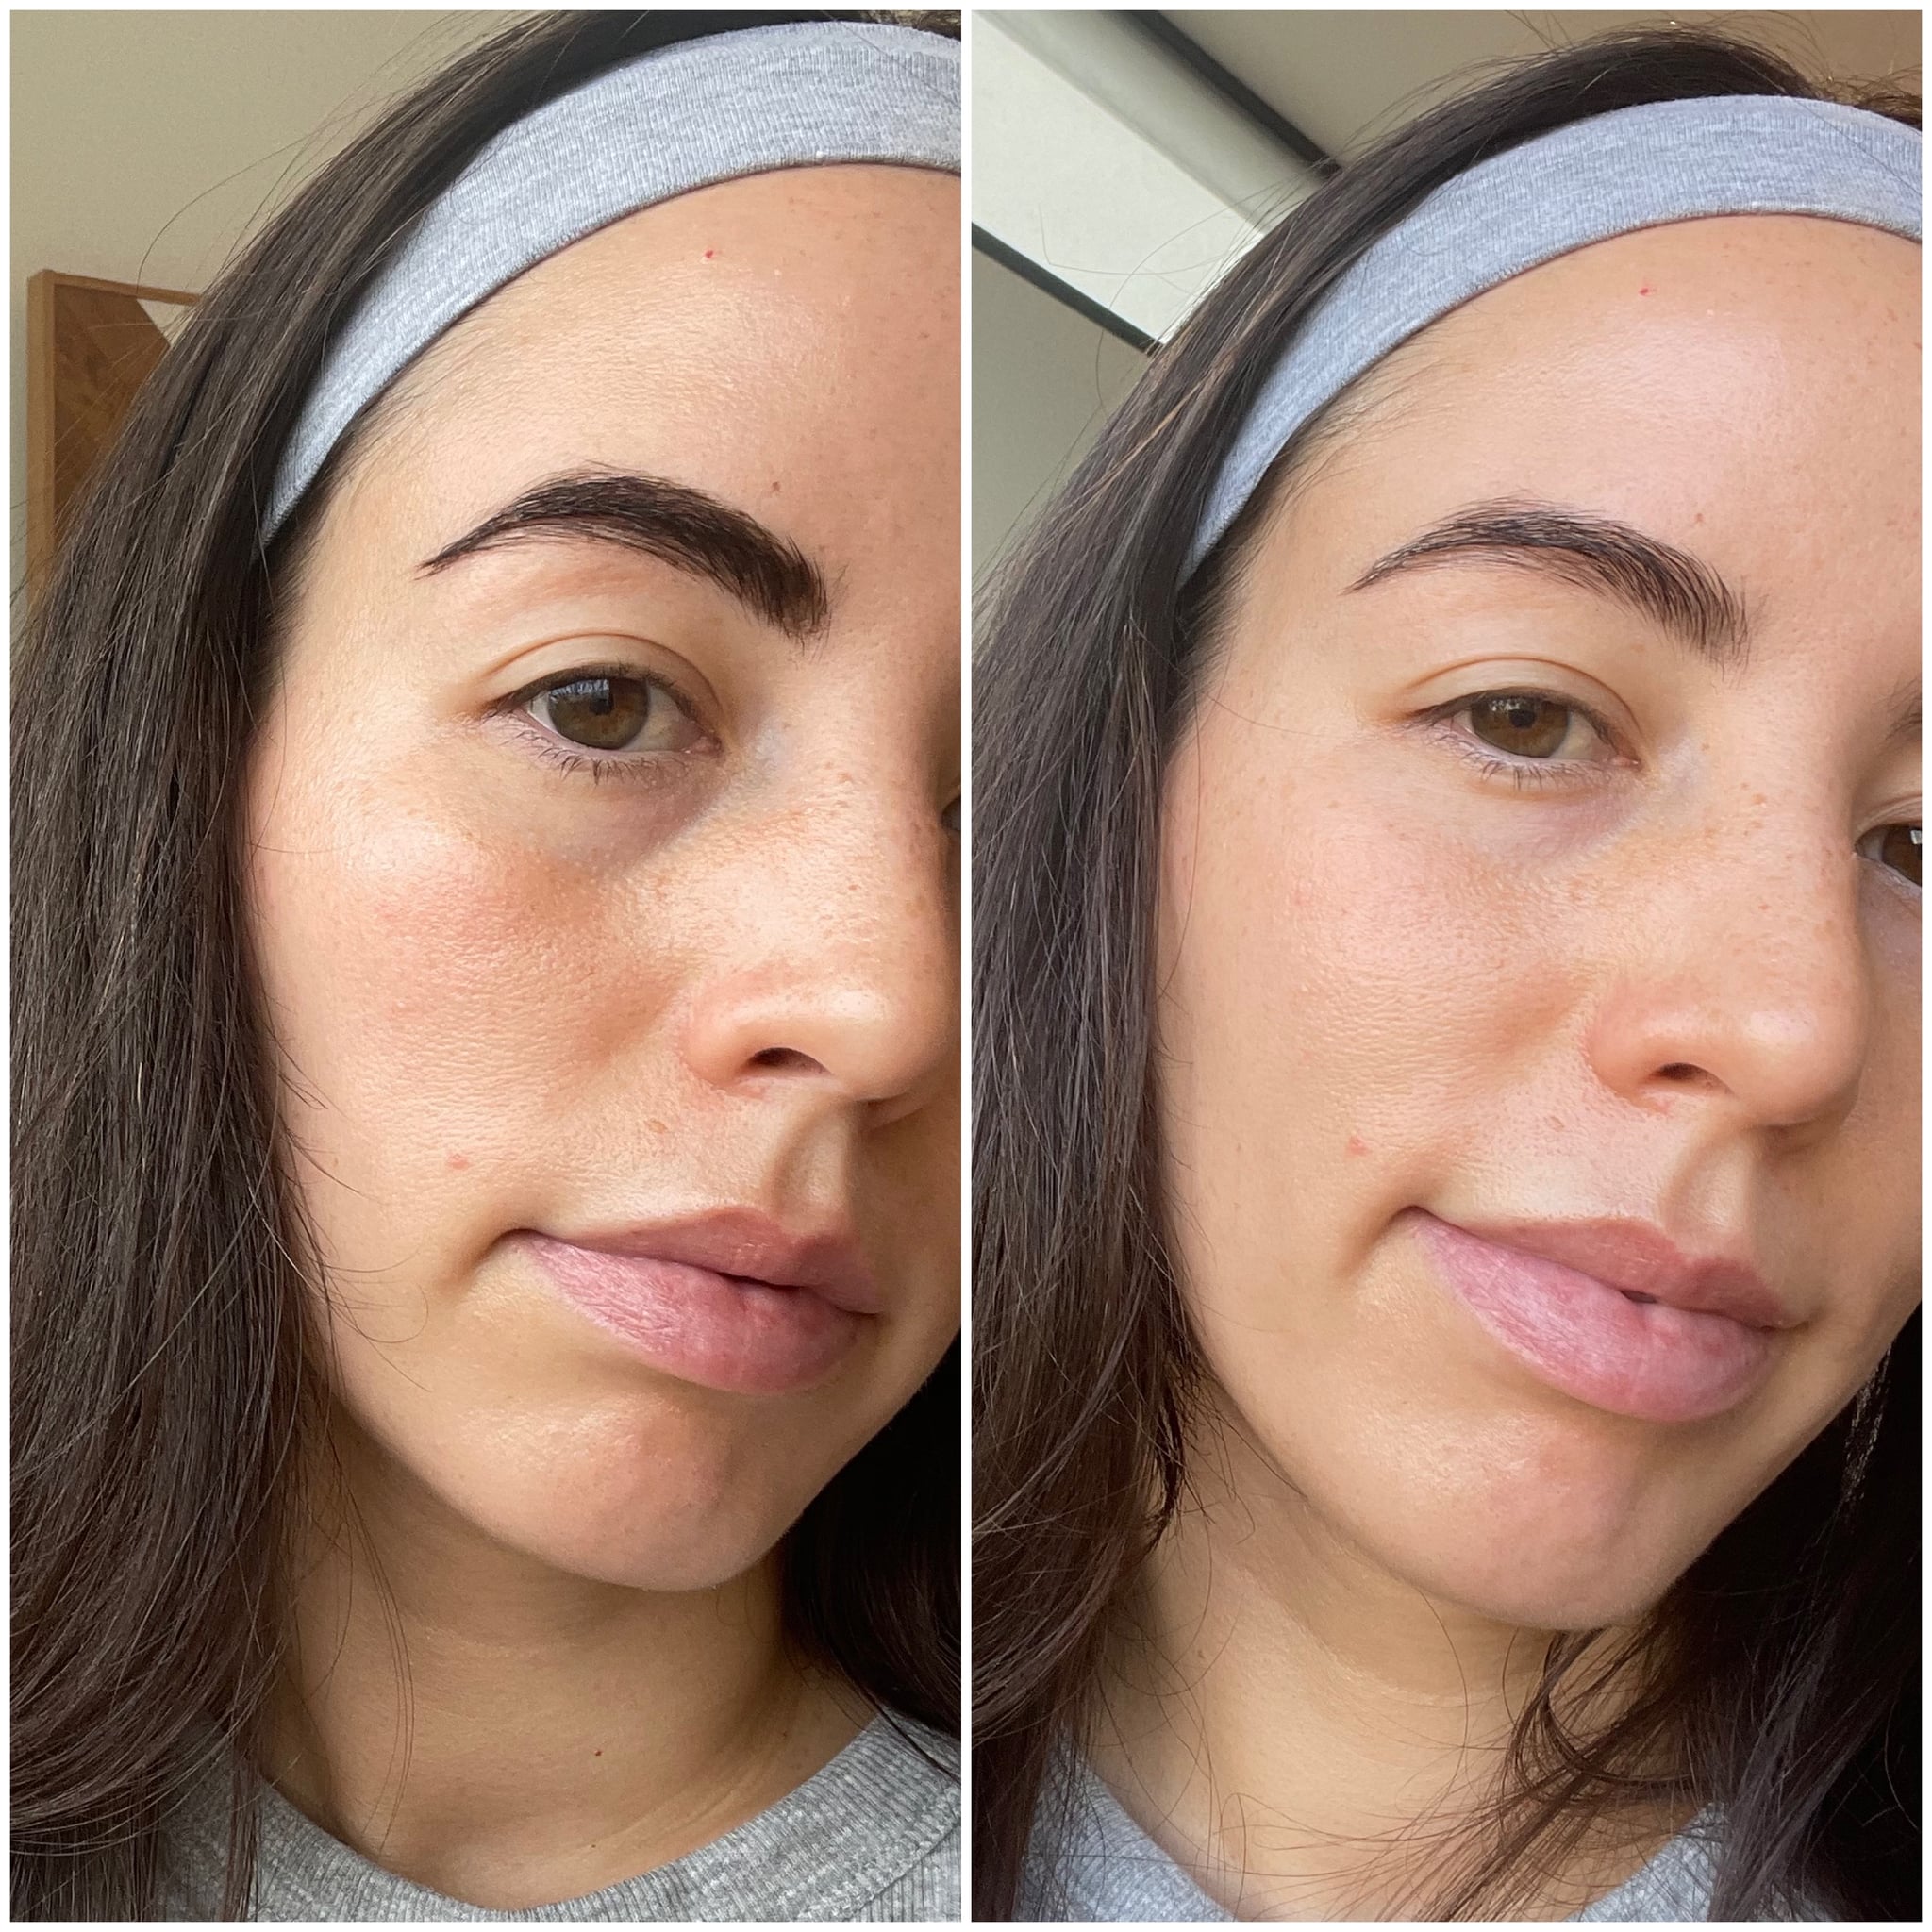
Taking off the extra tint was easy and gave my brow the perfect outline. I set my phone’s timer for four minutes, and after it went off, I removed the tint with a damp cotton round. I was elated to see how much better my eyebrow looked after being tinted. The color was absolutely perfect, and the tint had darkened all the baby hairs I had, making my brow look fuller and bushier.
While it wasn’t as perfect as when Adon does it, the entire process was quick, easy, and over before I knew it. After I’d completed the steps on my second brow, I finally had two eyebrows you could actually see, rather than just wispy, barely noticeable hair.
How to Care For Your Eyebrows After Applying the Brow Tint
“Do not shower or wet the eyebrows for 24 hours [after applying the brow tint]. After 24 hours, you want to avoid submerging your eyebrows under water when showering or washing your face. It is advised to wash around the eyebrows instead,” says Adon.
While I don’t plan on giving up my appointments with Adon anytime soon, I’ll definitely use Brow Code’s At-Home Tint Kit whenever I need a touch-up between appointments. It’s made a huge difference in my eyebrows’ appearance, and it’s a kit I’ll be reaching for in the future.
Rating:
Source: Read Full Article
