- Jennifer Lopez’s hairstylist Chris Appleton recently posted a tutorial on how to get the perfect middle-part bun on TikTok.
- All you need is hairspray and a few hair elastics to create the sleek look.
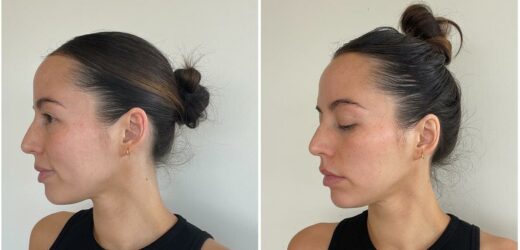
- One editor tried the hack and is sharing her before and after photos.
I frequently scroll Pinterest, Instagram, and TikTok searching for the latest beauty trends, and one hairstyle I’ve continued to see over and over again is the slicked-back bun. Every celebrity from Kim Kardashian to Bella Hadid wears the look, and for good reason: the hairstyle is perfect for both greasy-hair days and fancy events alike. It seems like all the cool girls have skillfully mastered the art of the slicked-back middle-part bun, and I desperately wanted an invite to the club.
Still, it seemed like every time I attempted the hairstyle I ended up with bumps throughout my hair that wouldn’t stay down no matter what I did. Luckily for me, celebrity hairstylist Chris Appleton recently posted a TikTok video where he demonstrated how to achieve the perfectly snatched middle-part bun. I tried it out for myself, and it’s safe to say that my slicked-back hairstyles have never looked better.
Snatched middle part bun let’s go 💪🏽 @Color Wow Hair
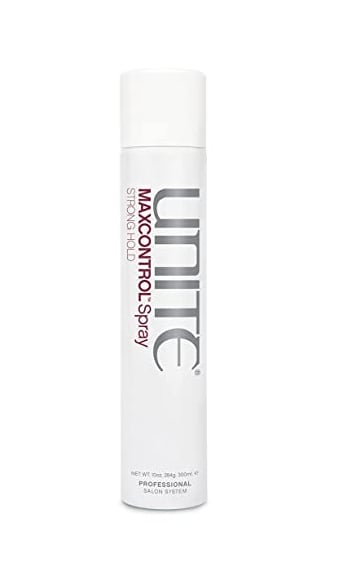
To test it out, I started by splitting my hair into two sections. “That’s the secret that no one does,” Appleton says in the video. I sectioned off a triangular section of hair at the crown of my head and clipped it up to keep it out of the way. Next, I saturated my roots with the Unite Max Control Spray ($31) and brushed my hair back into a smooth, snatched ponytail. I made sure to follow the line of my cheekbone when pulling back my ponytail because Appleton says it’s the best way to make your face look lifted. I will say: it was much easier getting my hair smoothed back into a ponytail without having to worry about the front pieces, which I realized were the main issue when trying to get rid of any bumps.
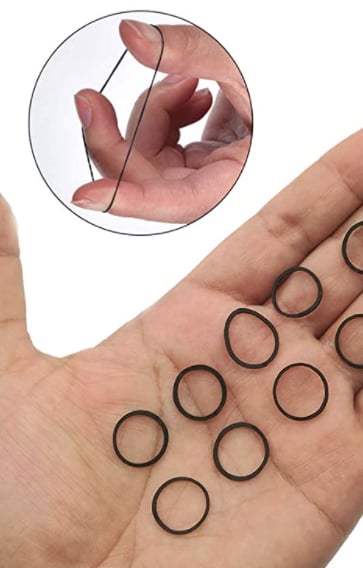
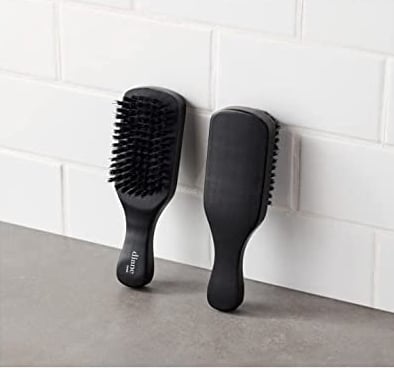
After my ponytail was secure, I unclipped the top triangular section of hair and cleaned up my middle part using a tail comb to make sure it was completely straight. Next, I added hairspray to the front section and saturated the roots like I did earlier. I then gathered the rest of my hair into a ponytail, securing it with a small elastic band ($7 for 1,000), and brushed everything down with the Diane Club Brush ($7) to make sure it looked smooth.
Next, I twisted my ponytail and wrapped it around into the bun. Taking Appleton’s advice, I left out the ends of my hair and secured the rest of the bun with a small elastic. I then went through and cleaned up any flyaways with a toothbrush and some hairspray.
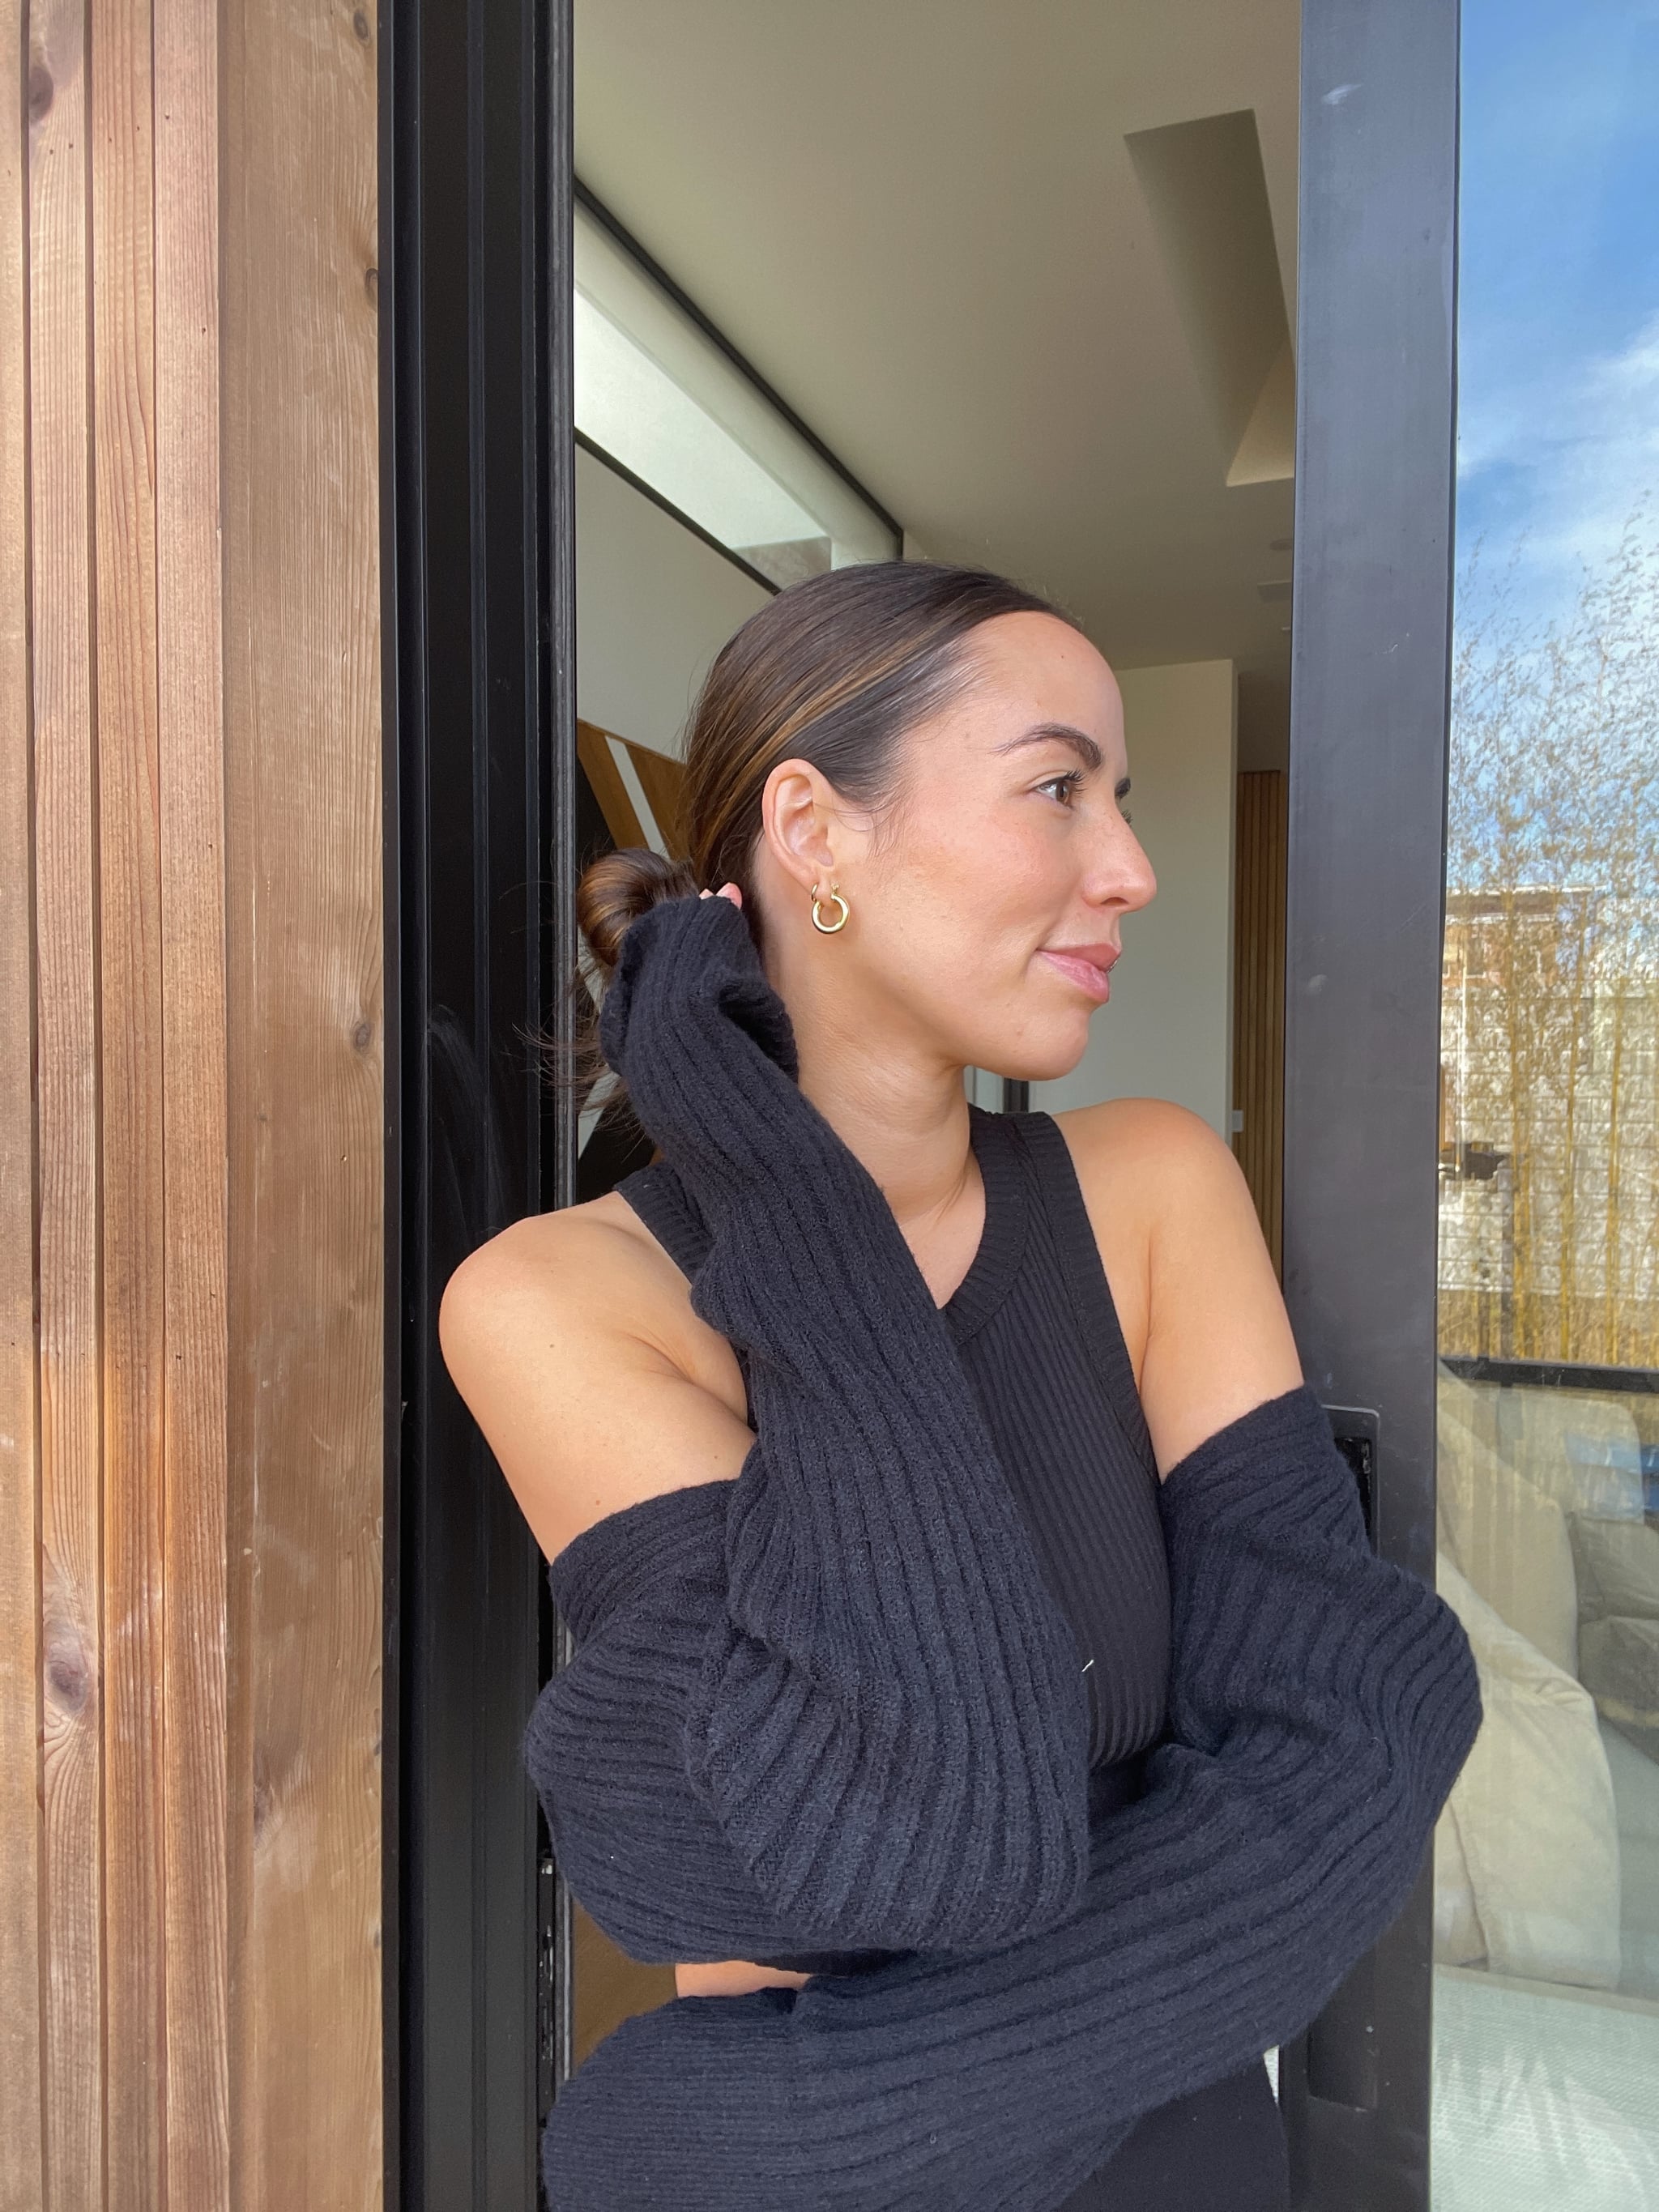
In the end, while I wasn’t left with a slicked-back hairdo that looked as good as Appleton’s, the tips and tricks definitely worked to make my hair look 10 times better than it had. His splitting-the-hair-into-two-sections hack definitely helped me cut down on bumps and flyaways, and I’ve been using it every time I do a slicked-back hairstyle. It’s made a huge difference.
Source: Read Full Article
