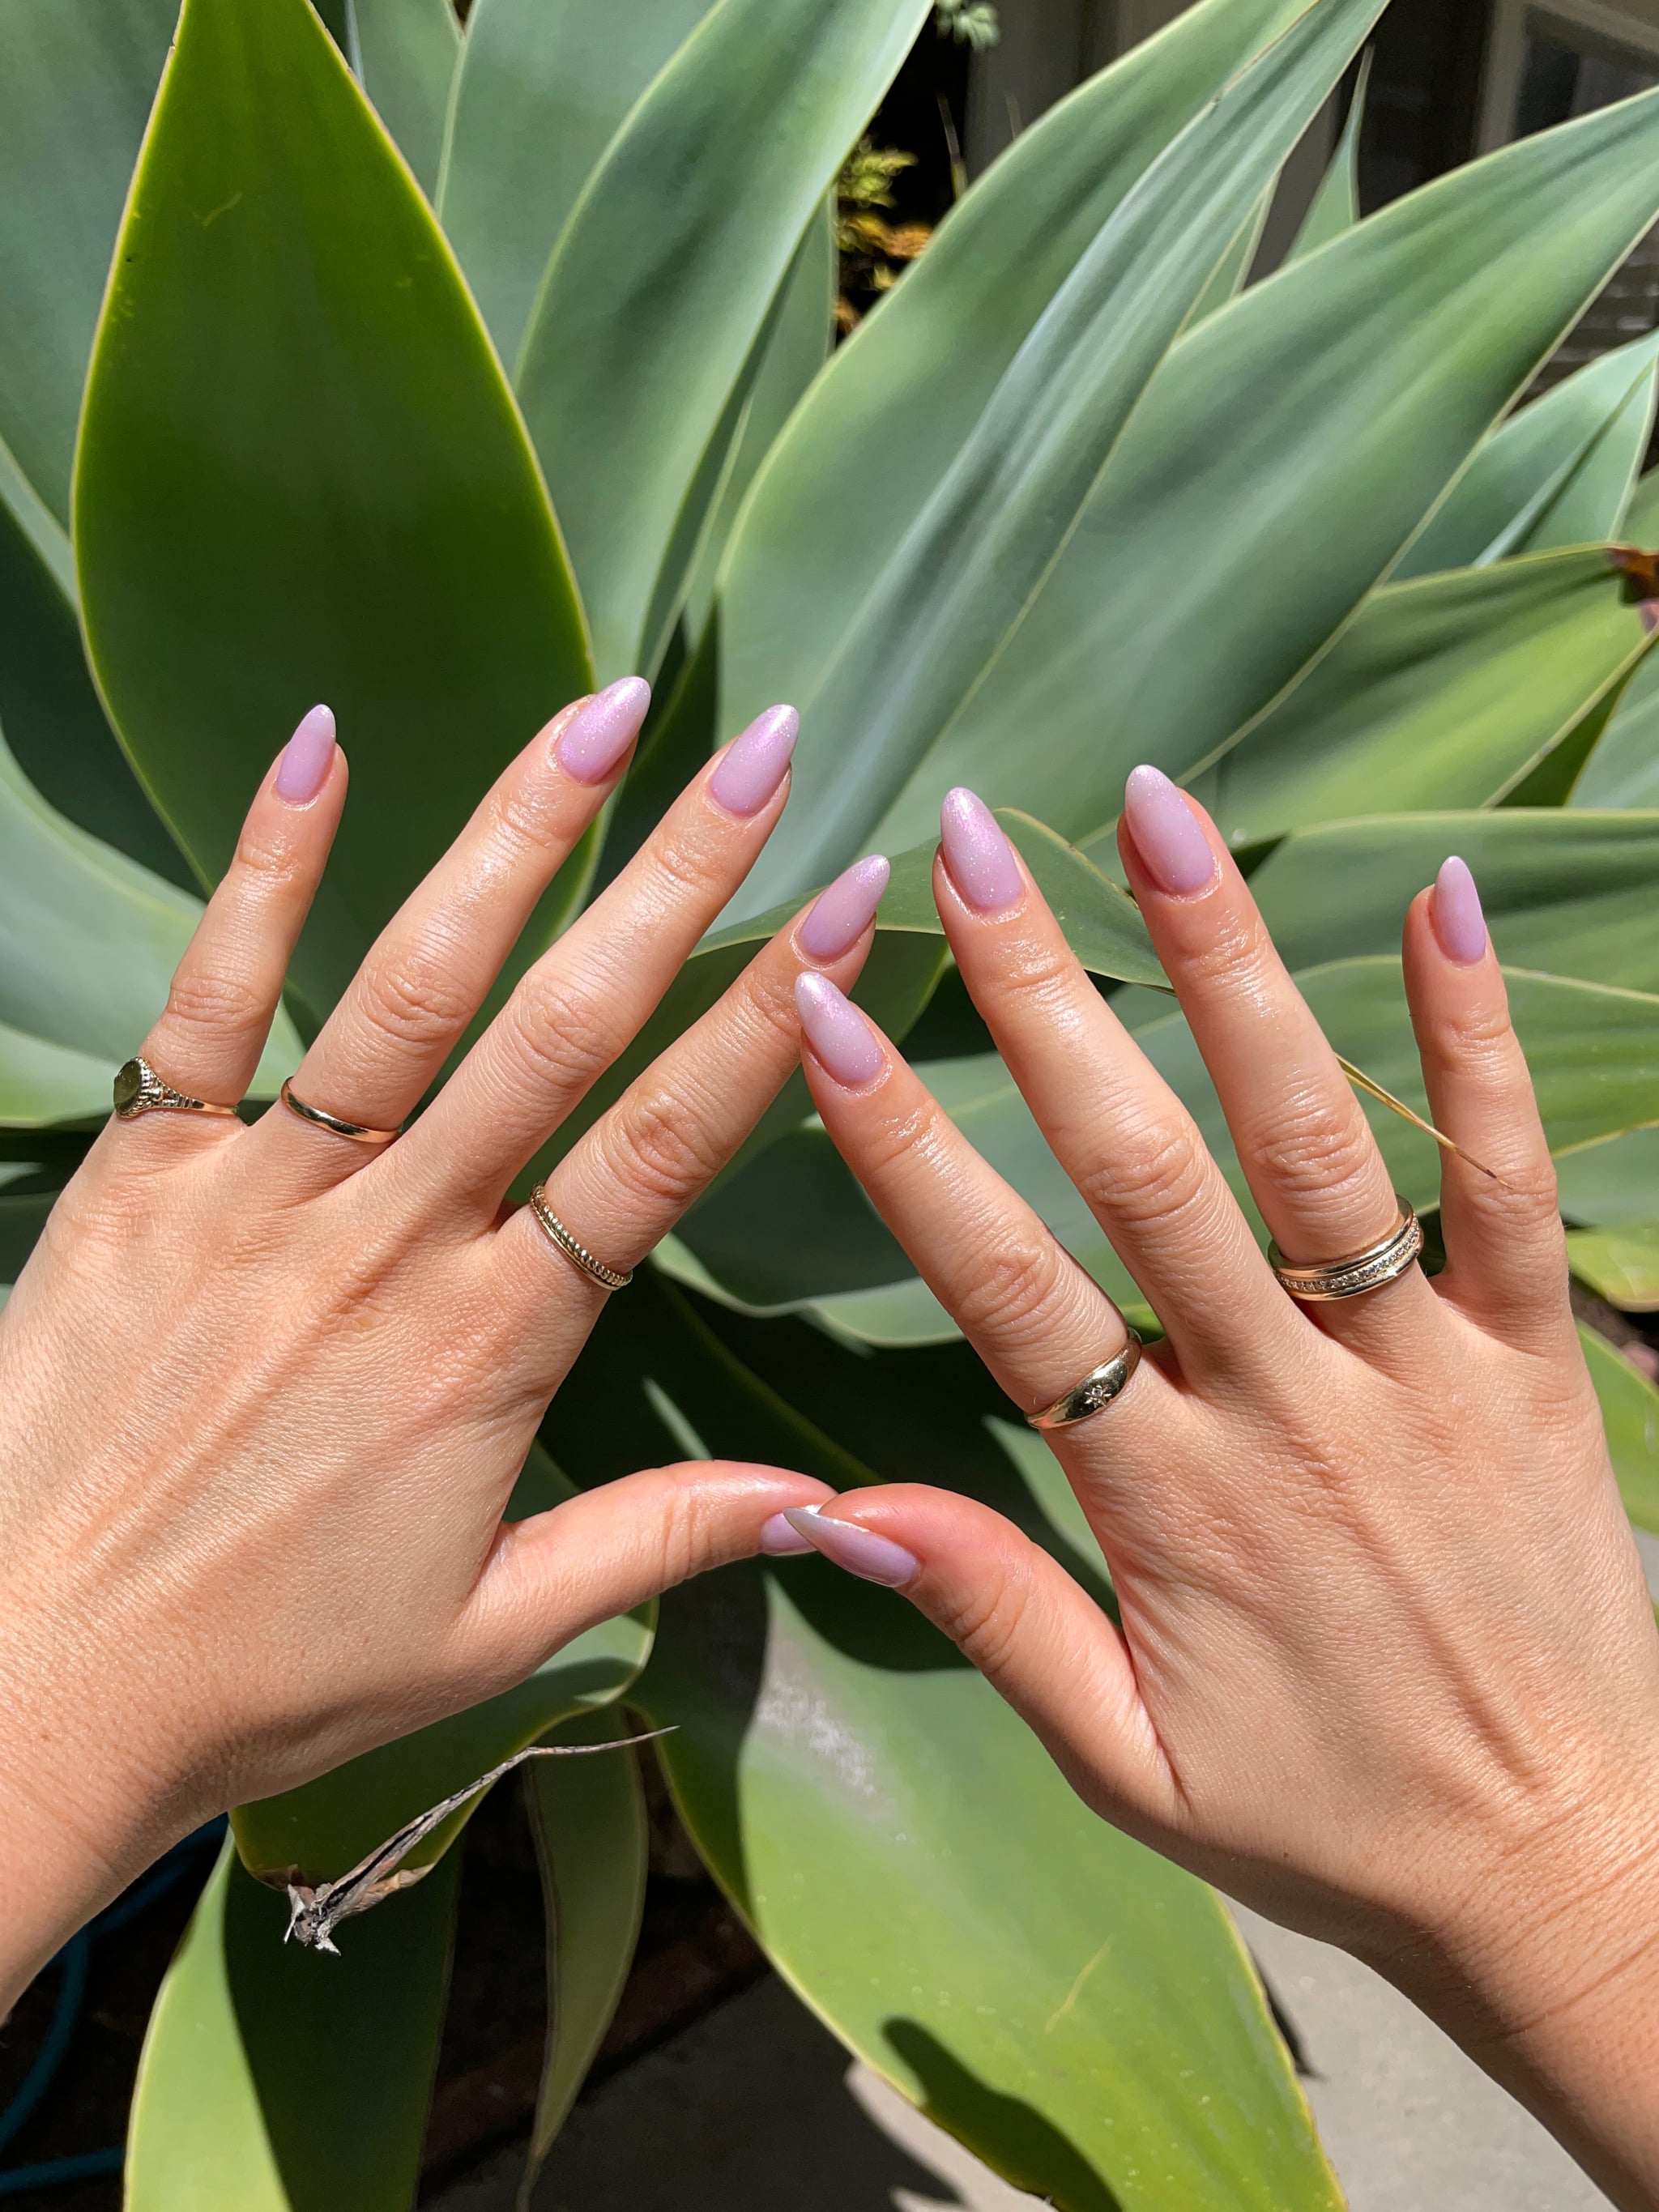
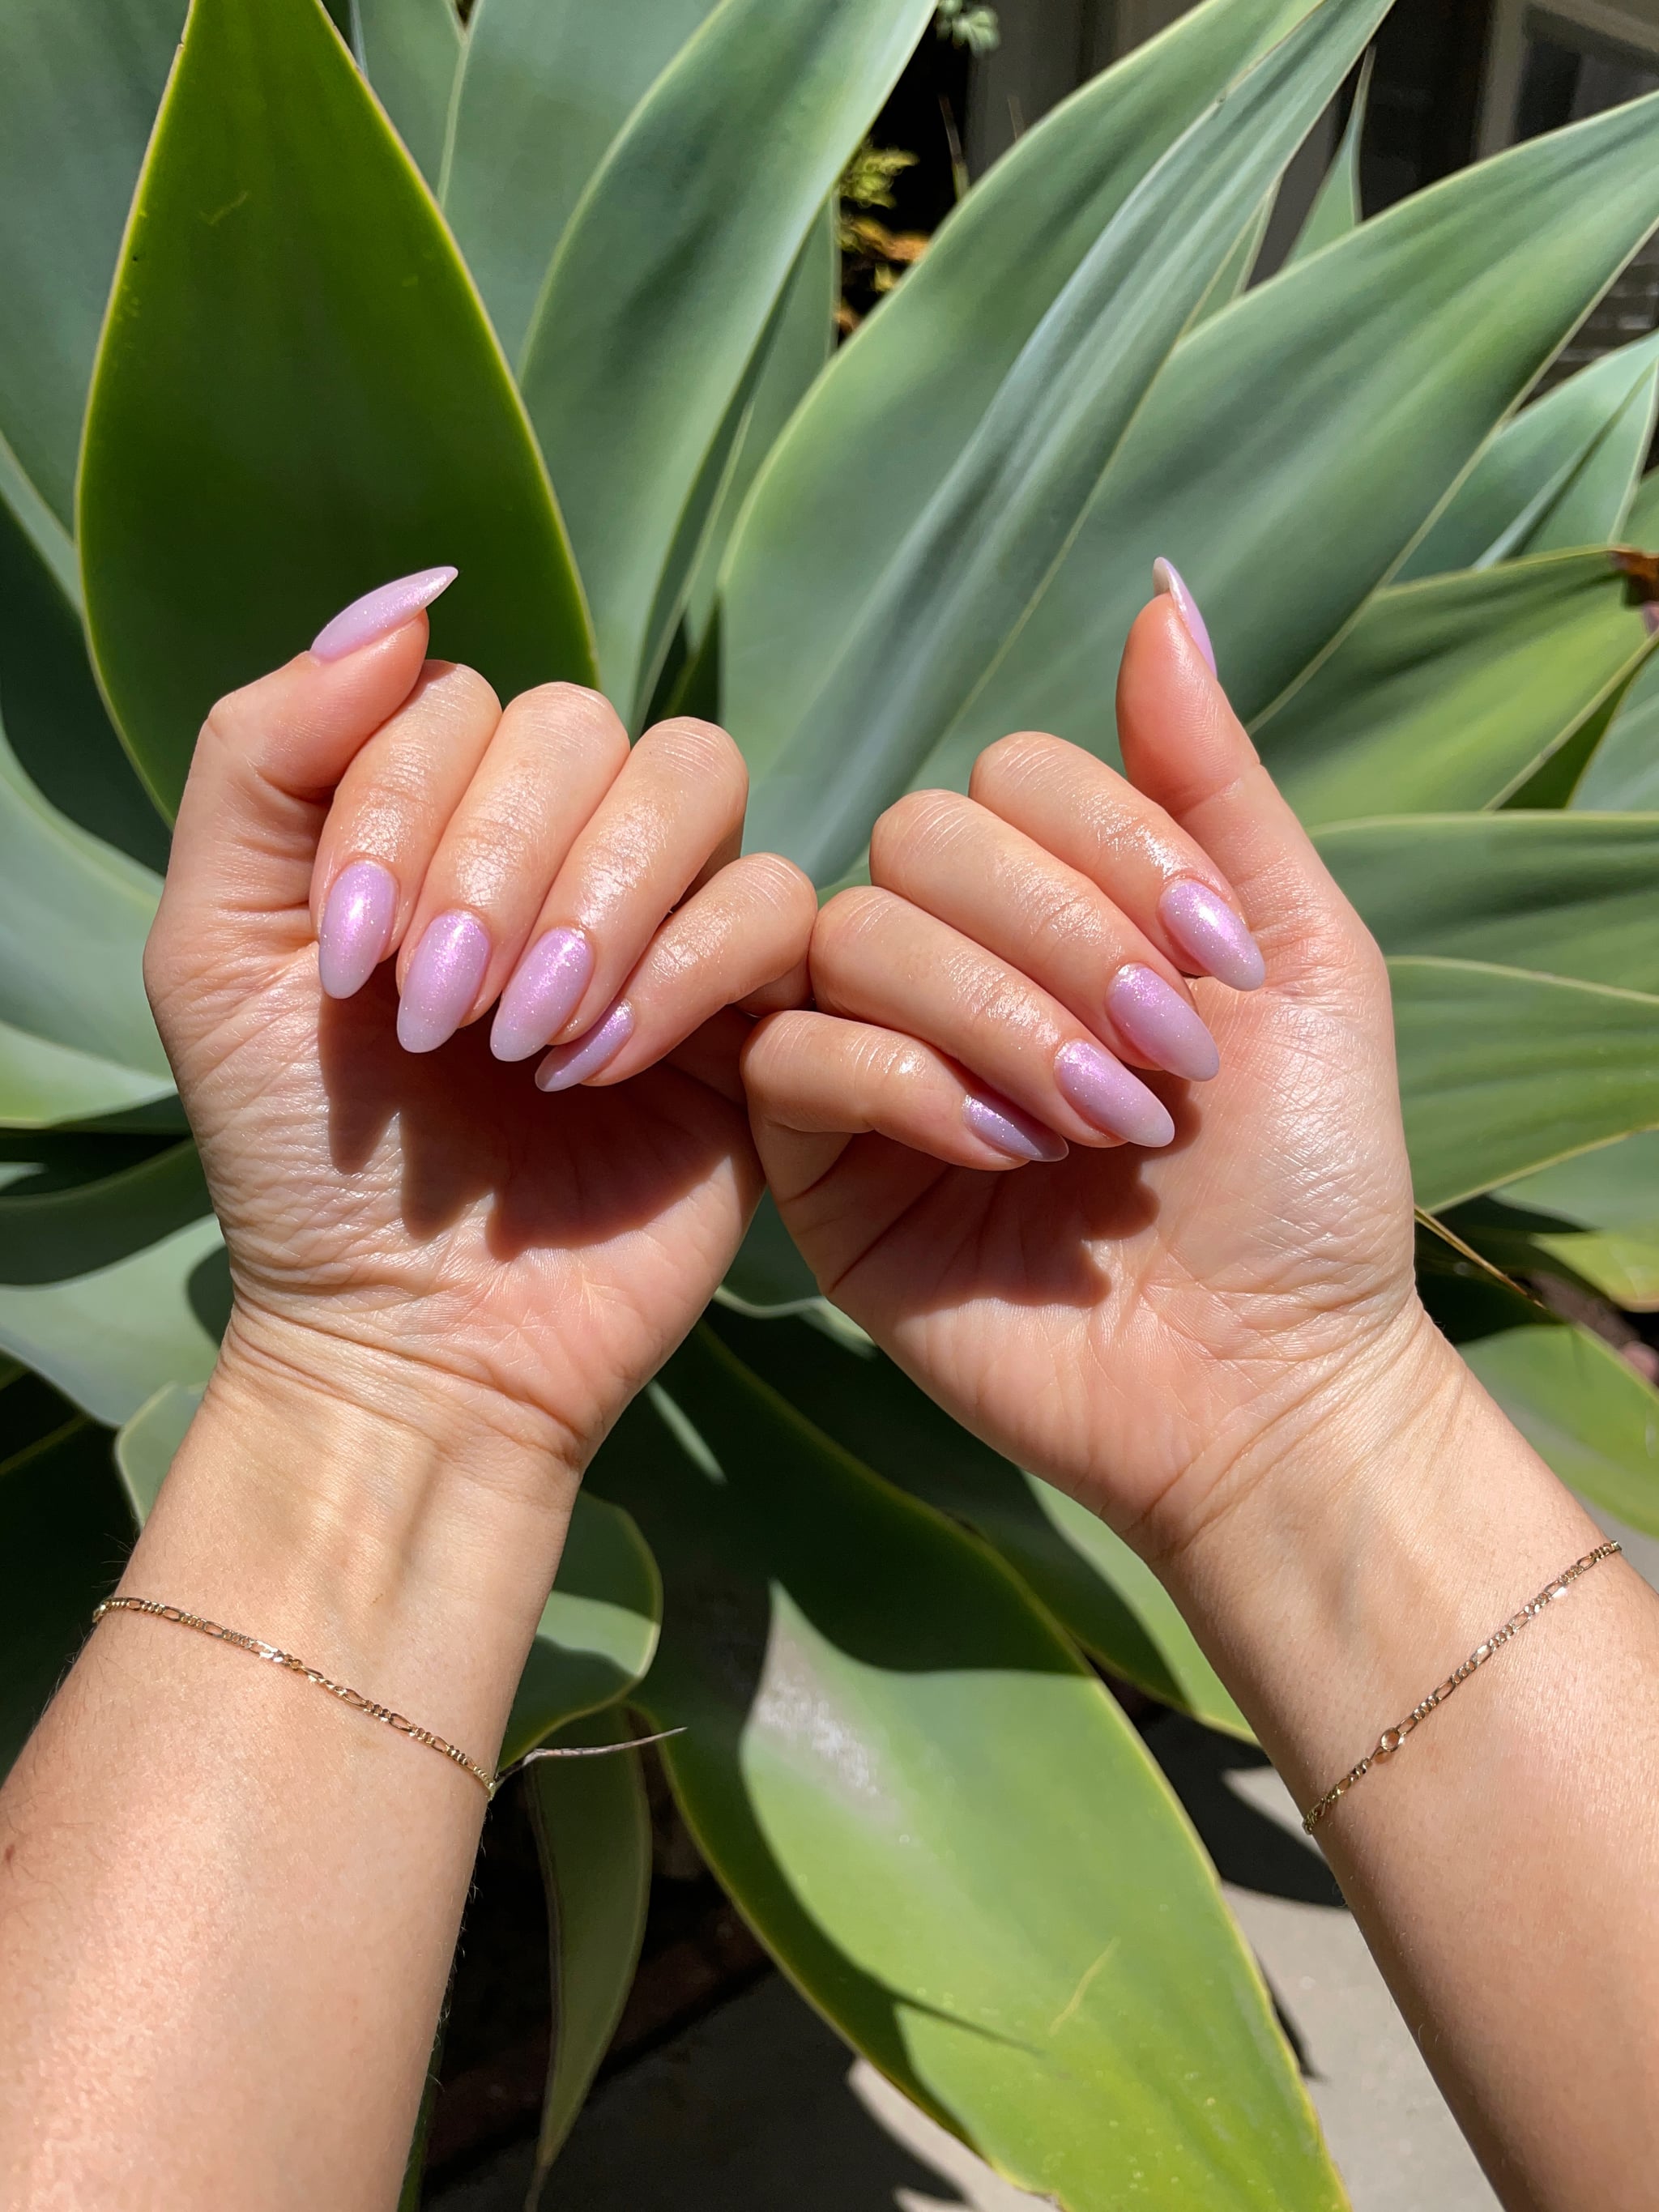
I am boring AF when it comes to my nails. I usually opt for neutral (but still fun) colors and trends, like “rich girl” nails or the always-popular “’90s supermodel” manicure. So as I was planning my trip to Coachella last weekend for the first time since 2017, I knew I wanted to step out of my comfort zone — but not too far out. When I saw a story my coworker wrote about “digital lavender” nails, I was immediately sold. The look, which is the perfect combination of colorful and subtle, was exactly what I was going for.
As for what it is? “This color was named by trend forecasting website WSGN — along with its sister company Coloro — as 2023’s color of the year,” celebrity manicurist Julie Kandalec previously told POPSUGAR, adding that “‘digital lavender’ is a shade that’s cooler-toned and a bit more muted than the classic [lavender].” Because the look is almost as much about the finish as it is the color, most versions of the trend also feature holographic topcoats or chrome powder finishes.
I visited Tiffany Nail Salon in Santa Monica, CA, where they helped me achieve the perfect manicure. Keep reading to see how we mastered the look.
How to Get Digital-Lavender Nails
Step 1: Trim, Buff, and File Natural Nails
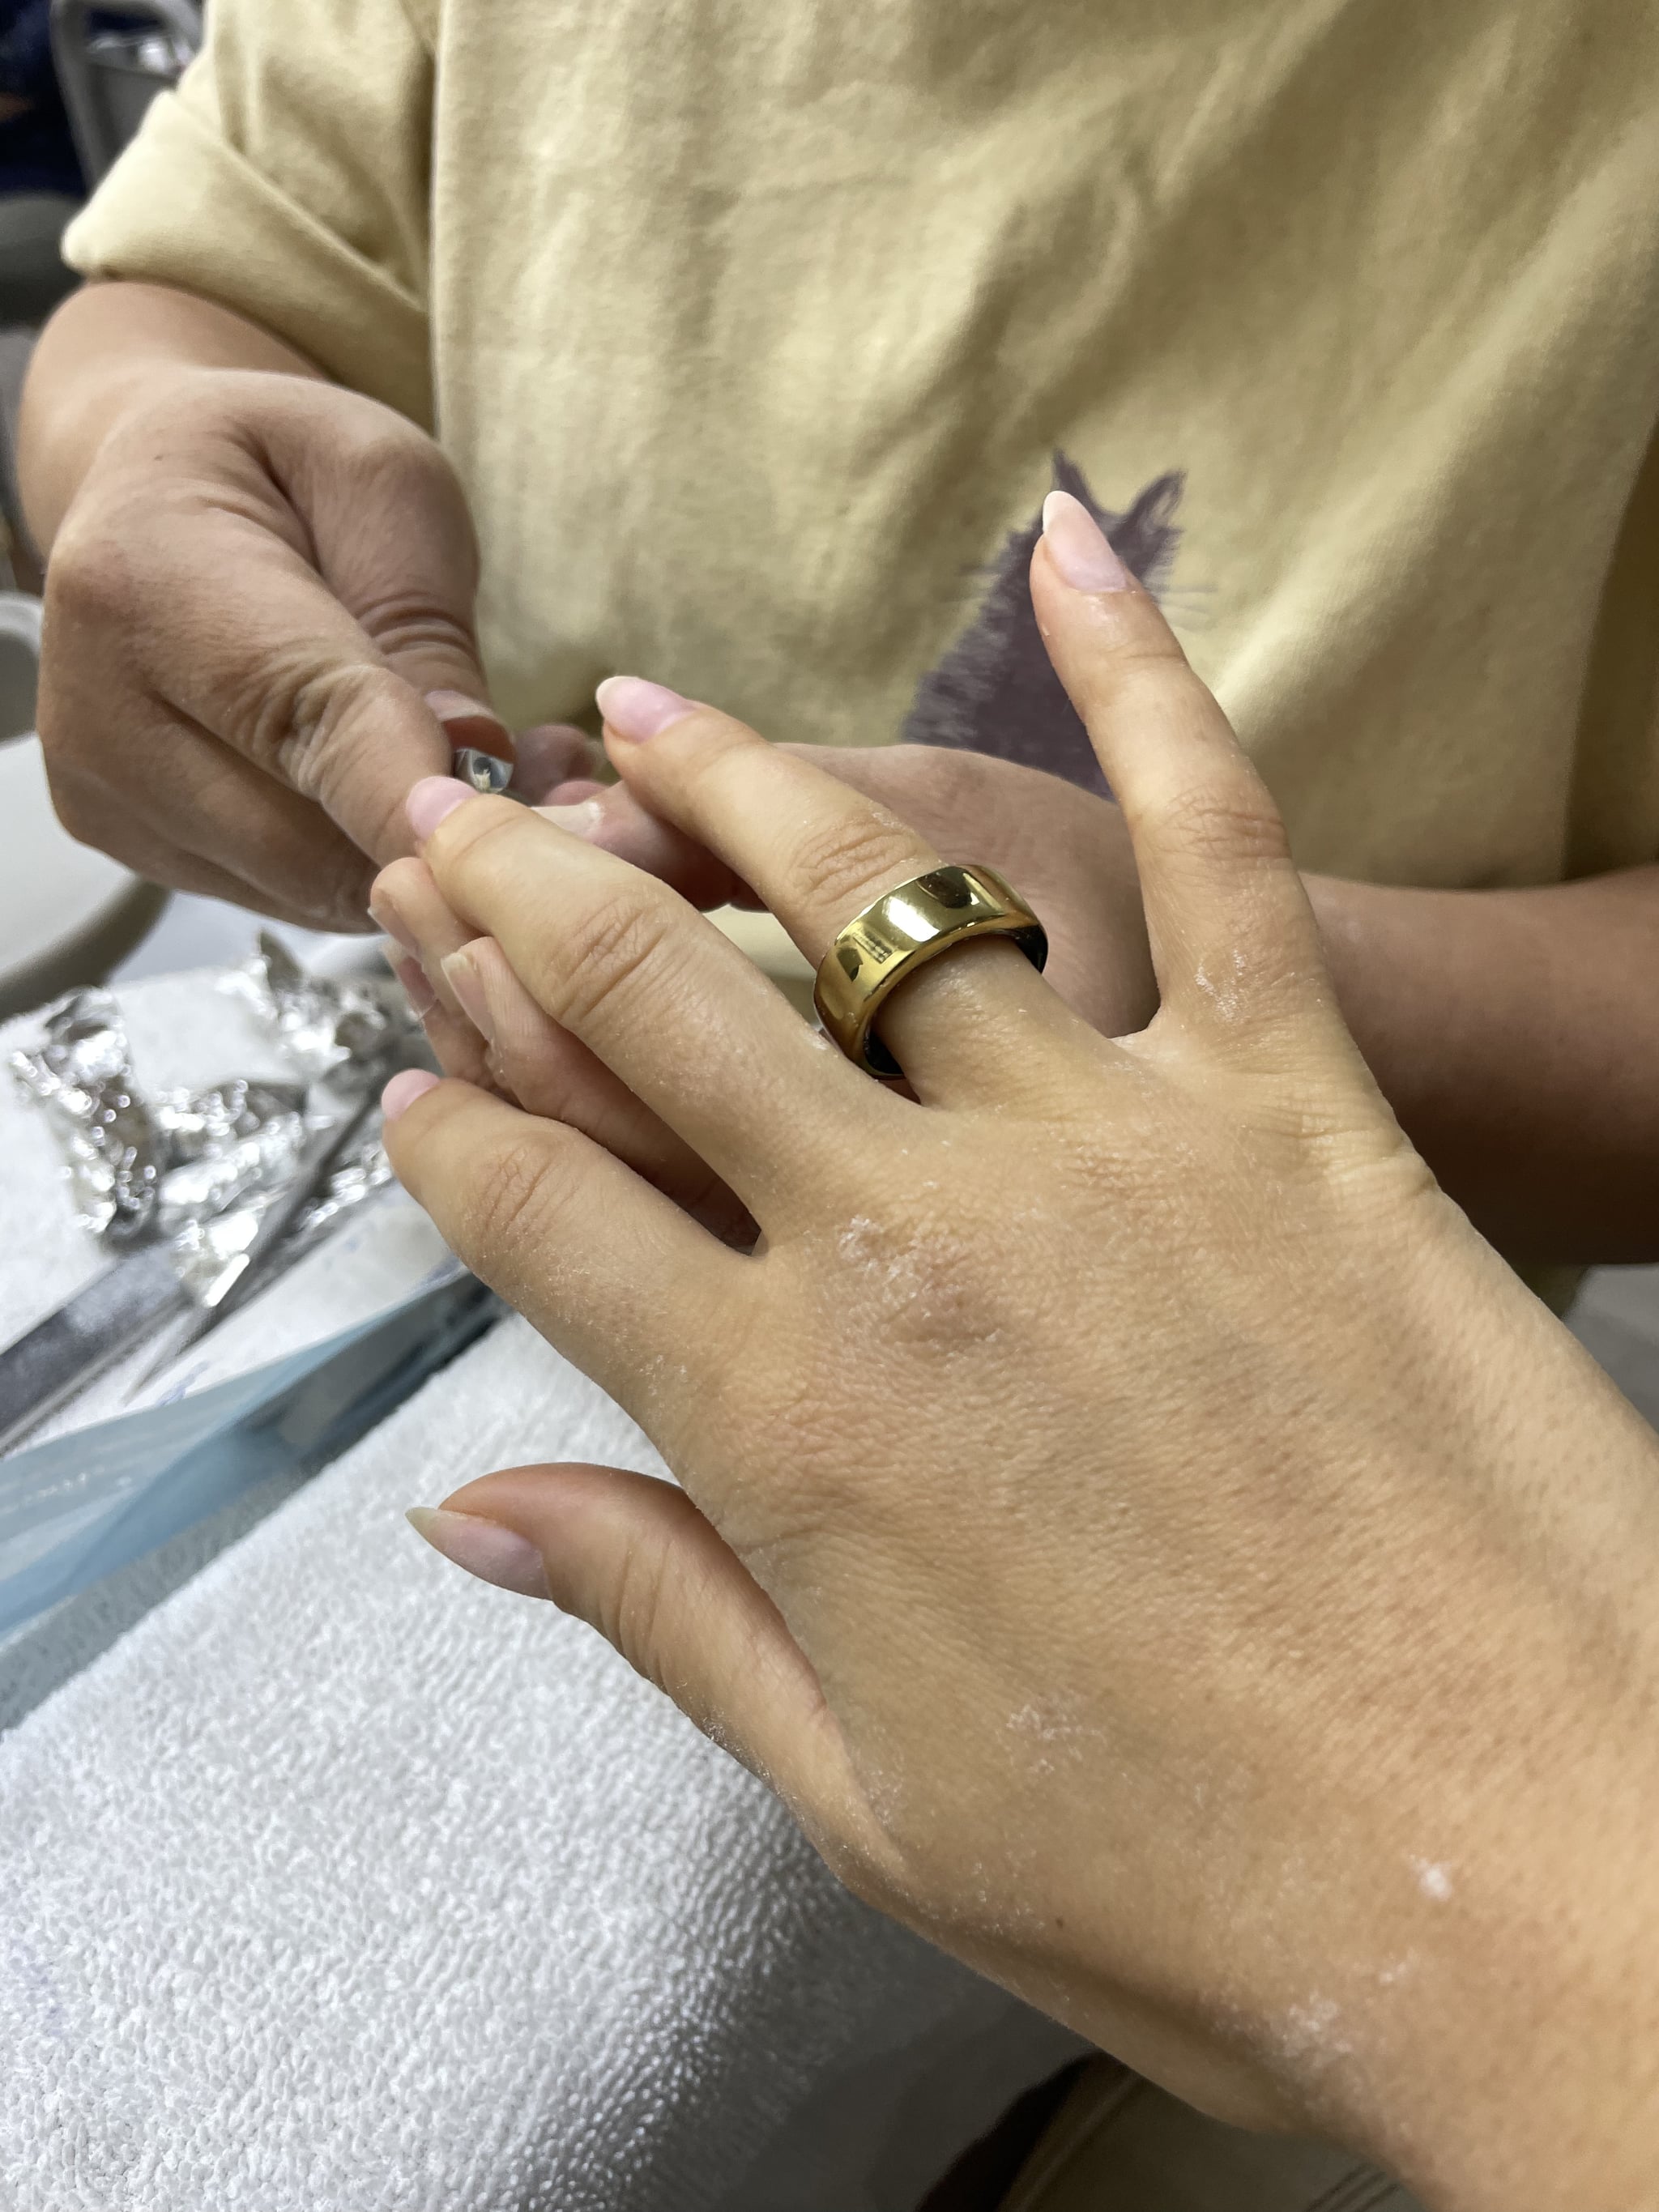
After removing my gel, we filed and buffed my natural nails. I’ve had a rounded almond shape for the last few months that I’ve been loving, so we stuck with that for this look as well. I’ve also been growing out my nails, so we didn’t cut them and instead just filed them a tiny bit shorter.
Step 2: Apply a Sheer Lavender Base
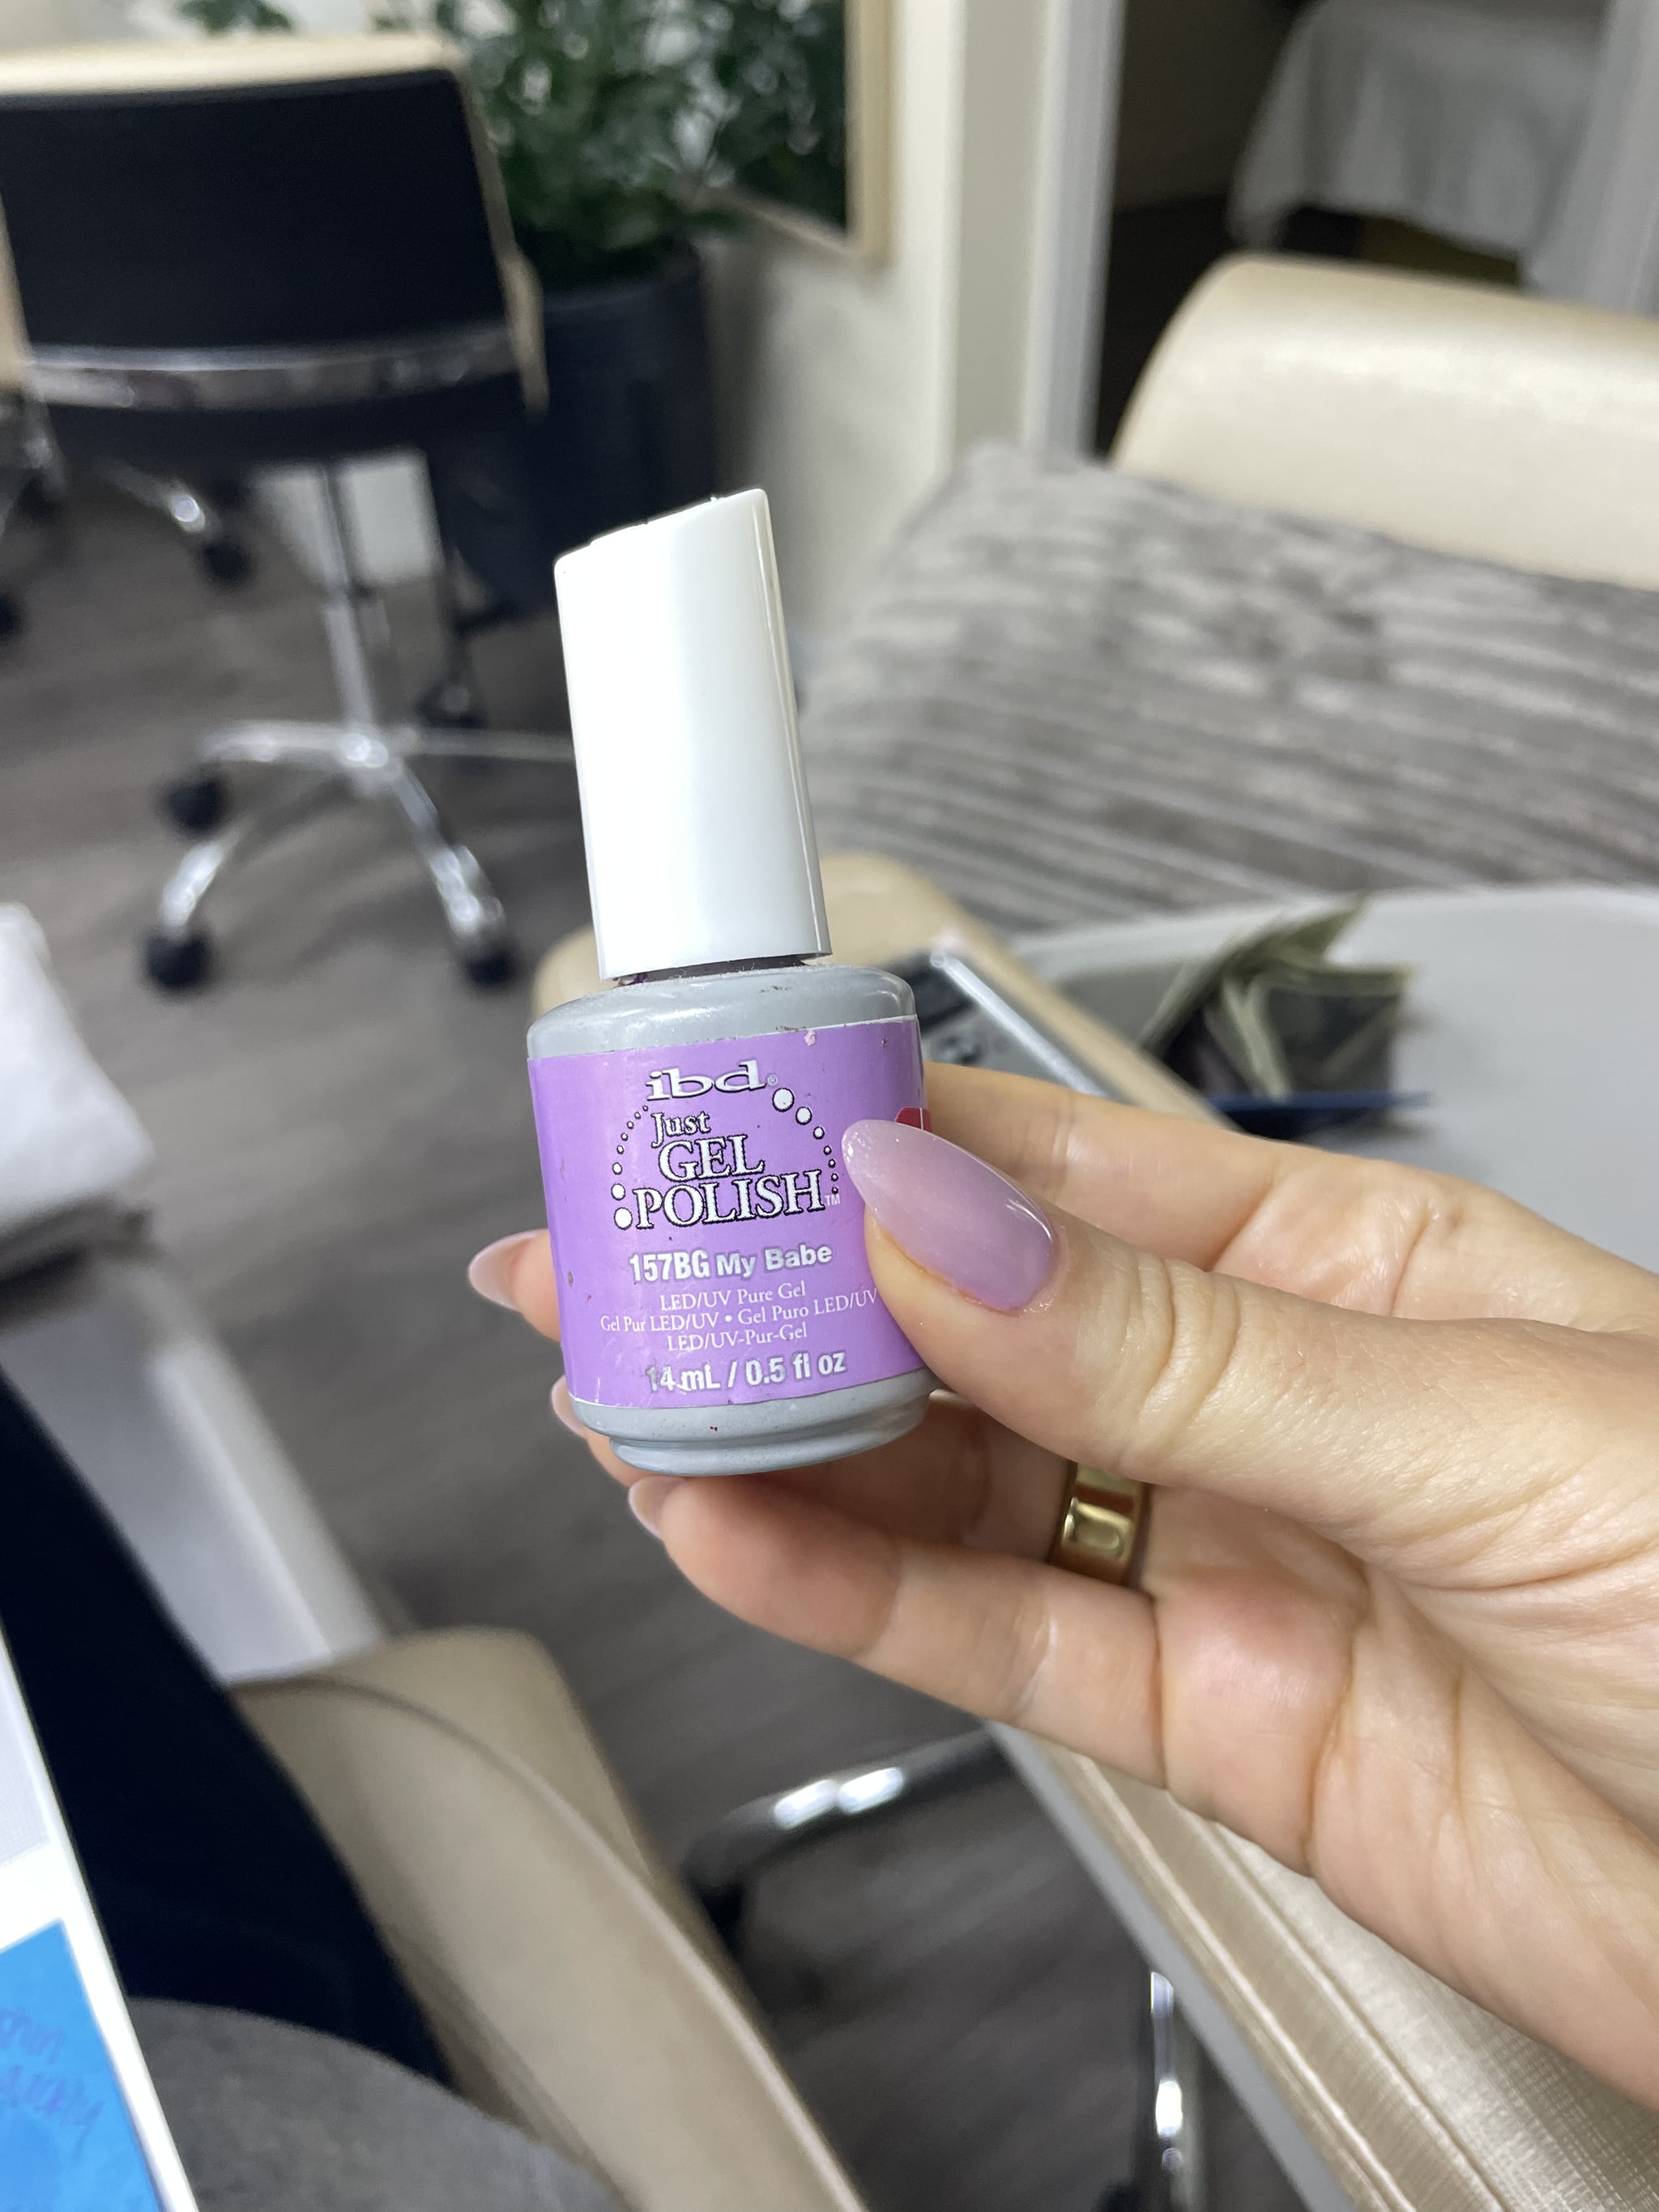
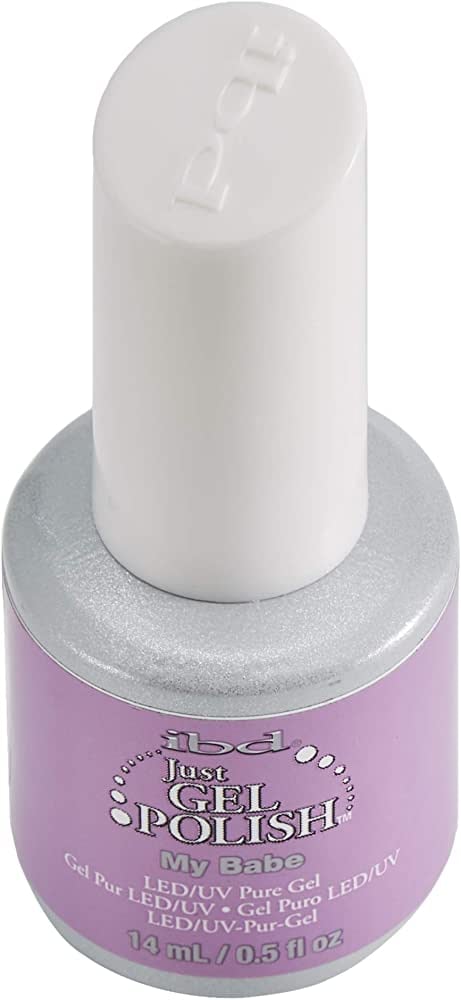
I arrived at the salon with a bunch of inspiration photos in hand, but it didn’t have one specific color that emulated the digital-lavender look, so I decided to mix colors to get the exact shade I was going for. We started out by applying a base coat, then from there, we did just one coat of the IBD Just Gel Polish ($9) in the shade My Babe, which is a very light lavender. I didn’t want it to look opaque, so we made sure to apply the thinnest coat possible; however, if you’re looking for a more vibrant purple shade, all you need to do is layer another coat on top.
Step 3: Apply a Pearlescent Shade on Top
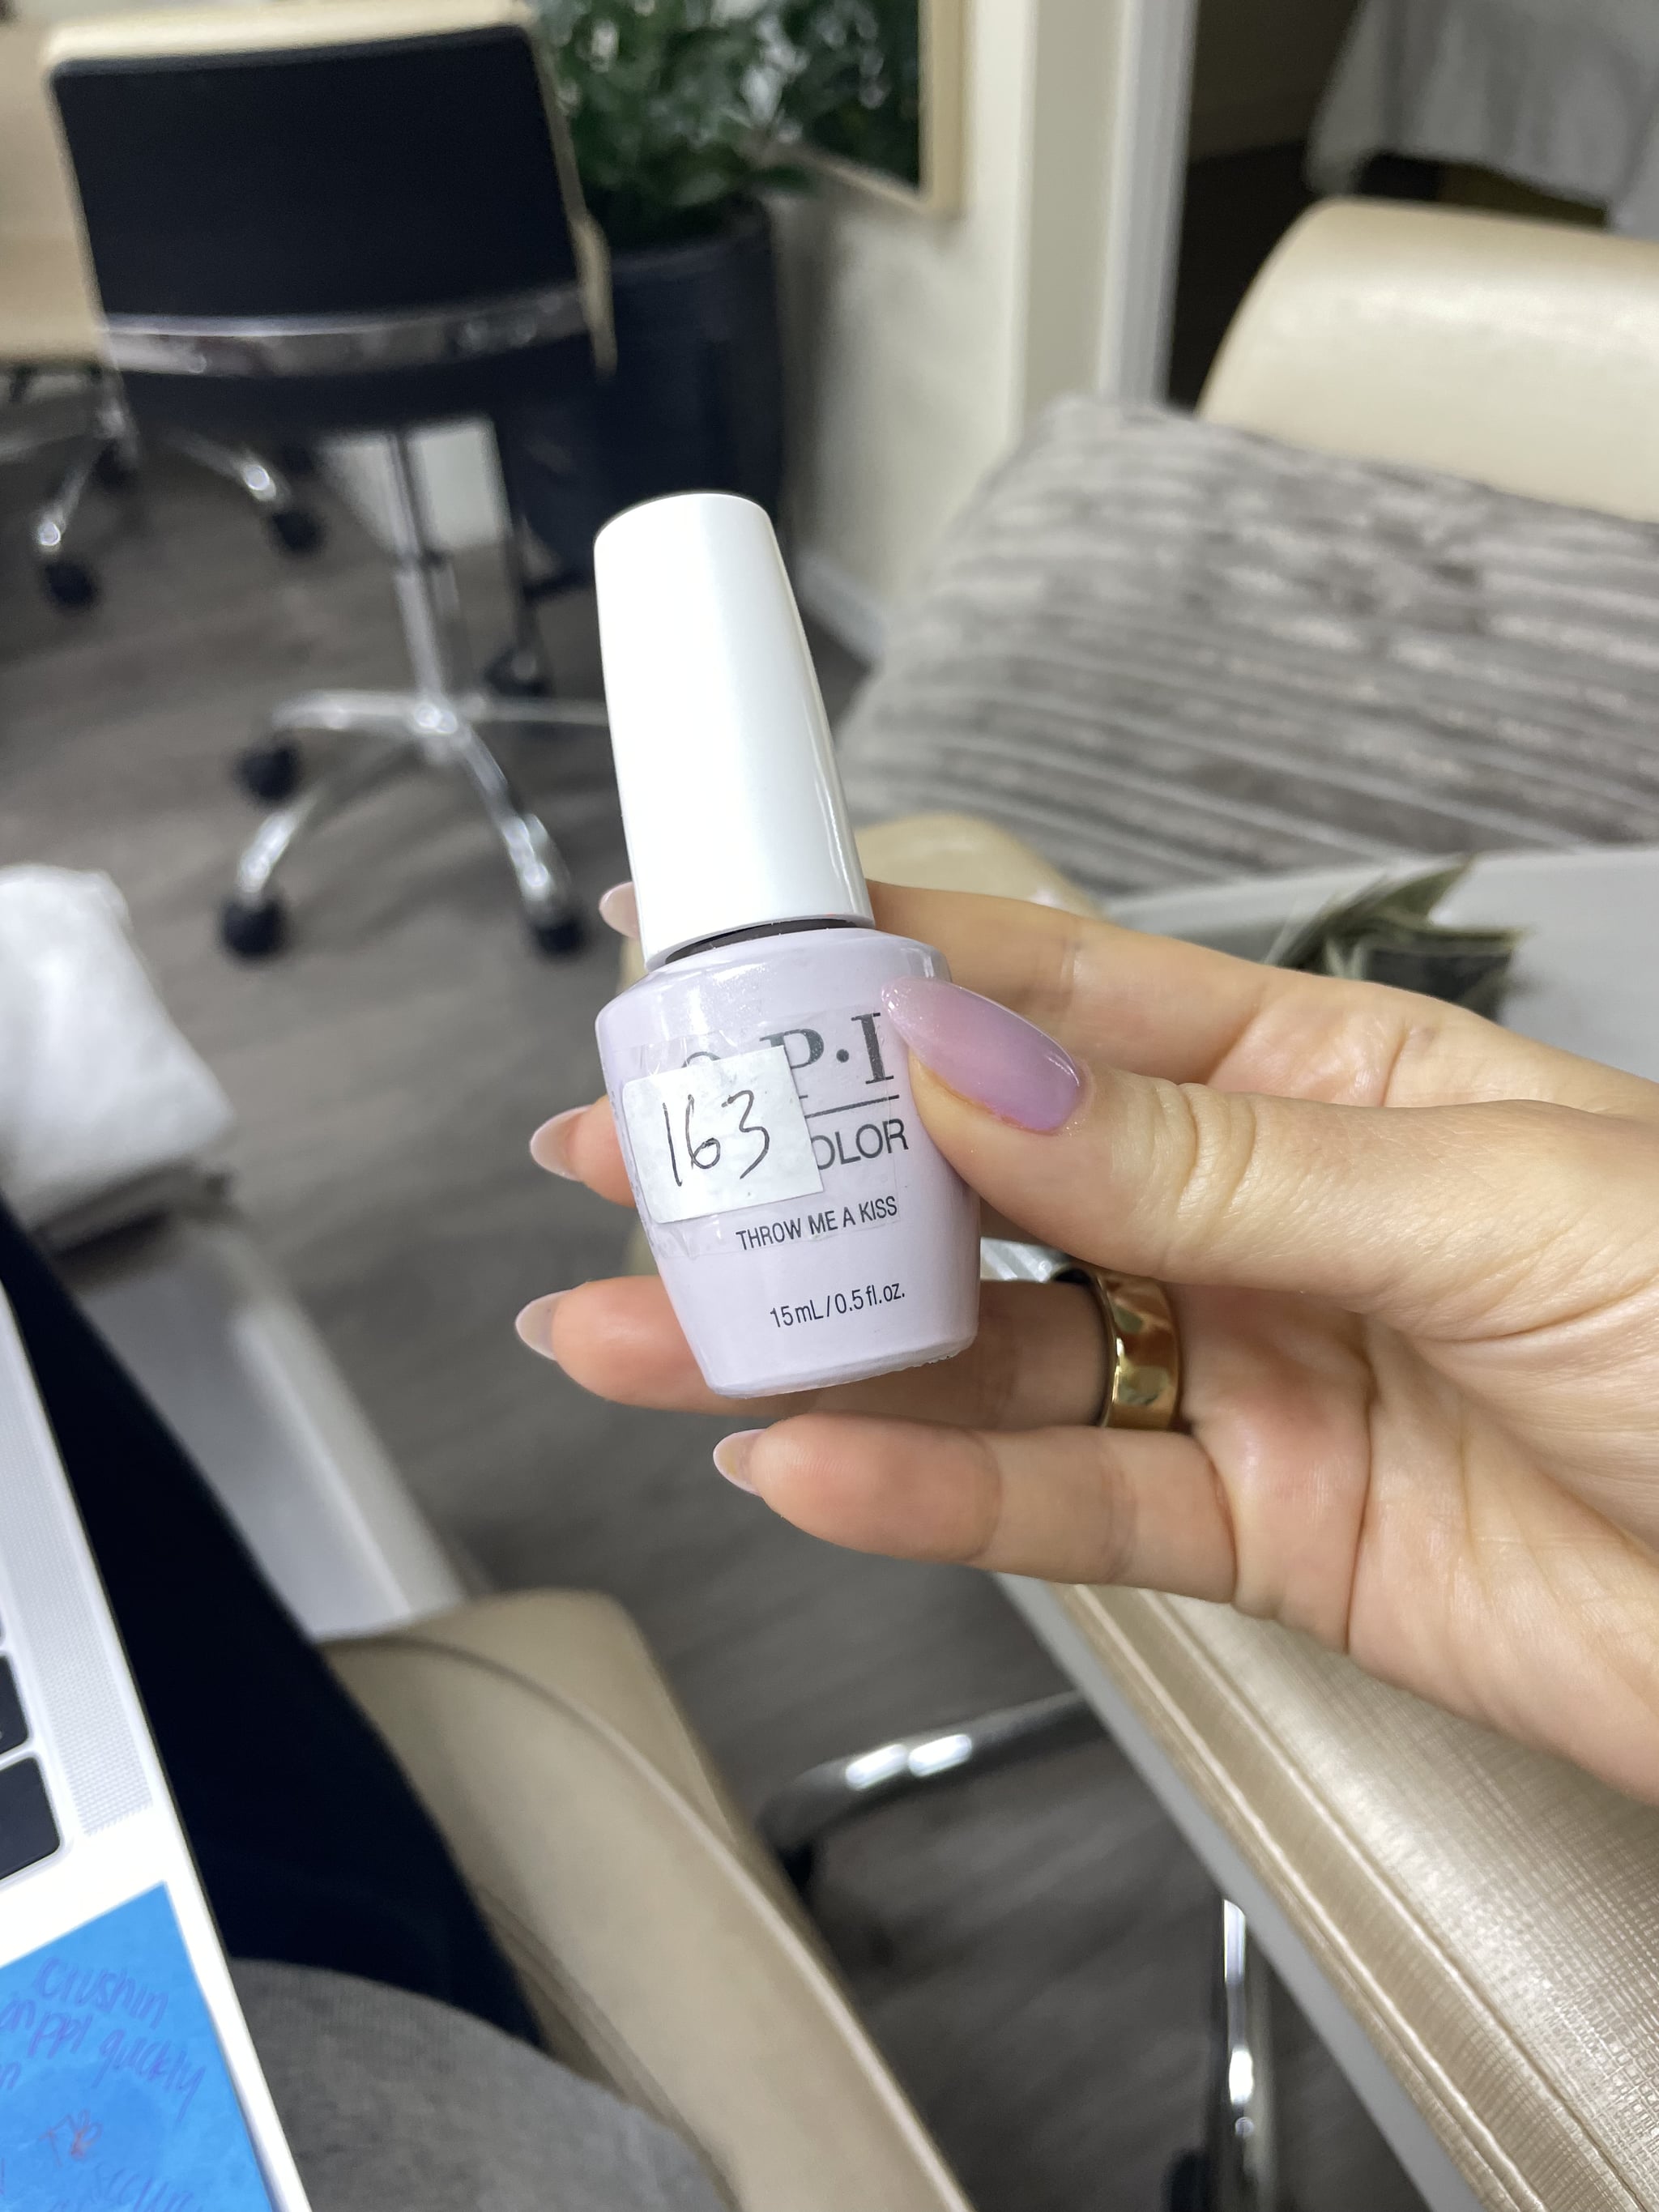
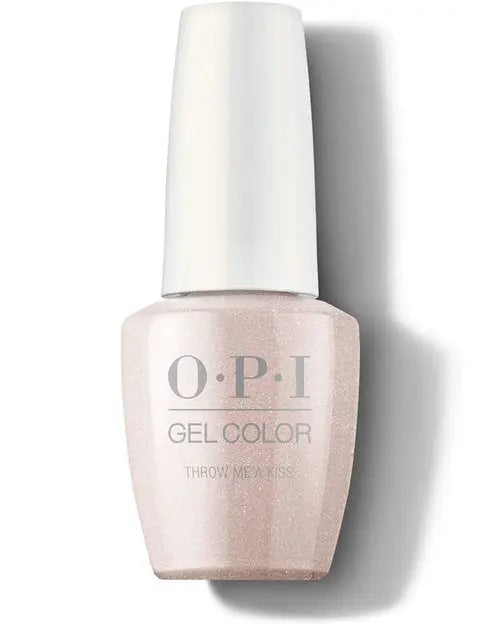
After letting the lavender shade cure under the LED lamp, in order to get the digital look, we added one coat of OPI Gel ($19) in the shade Throw Me a Kiss. The color is an iridescent pinkish pearly hue with a tiny bit of sparkle, which gave my nails a chrome effect without the addition of chrome powder. To finish everything off, we let my nails cure under the LED lamp, added a shiny topcoat, then cured them one more time.
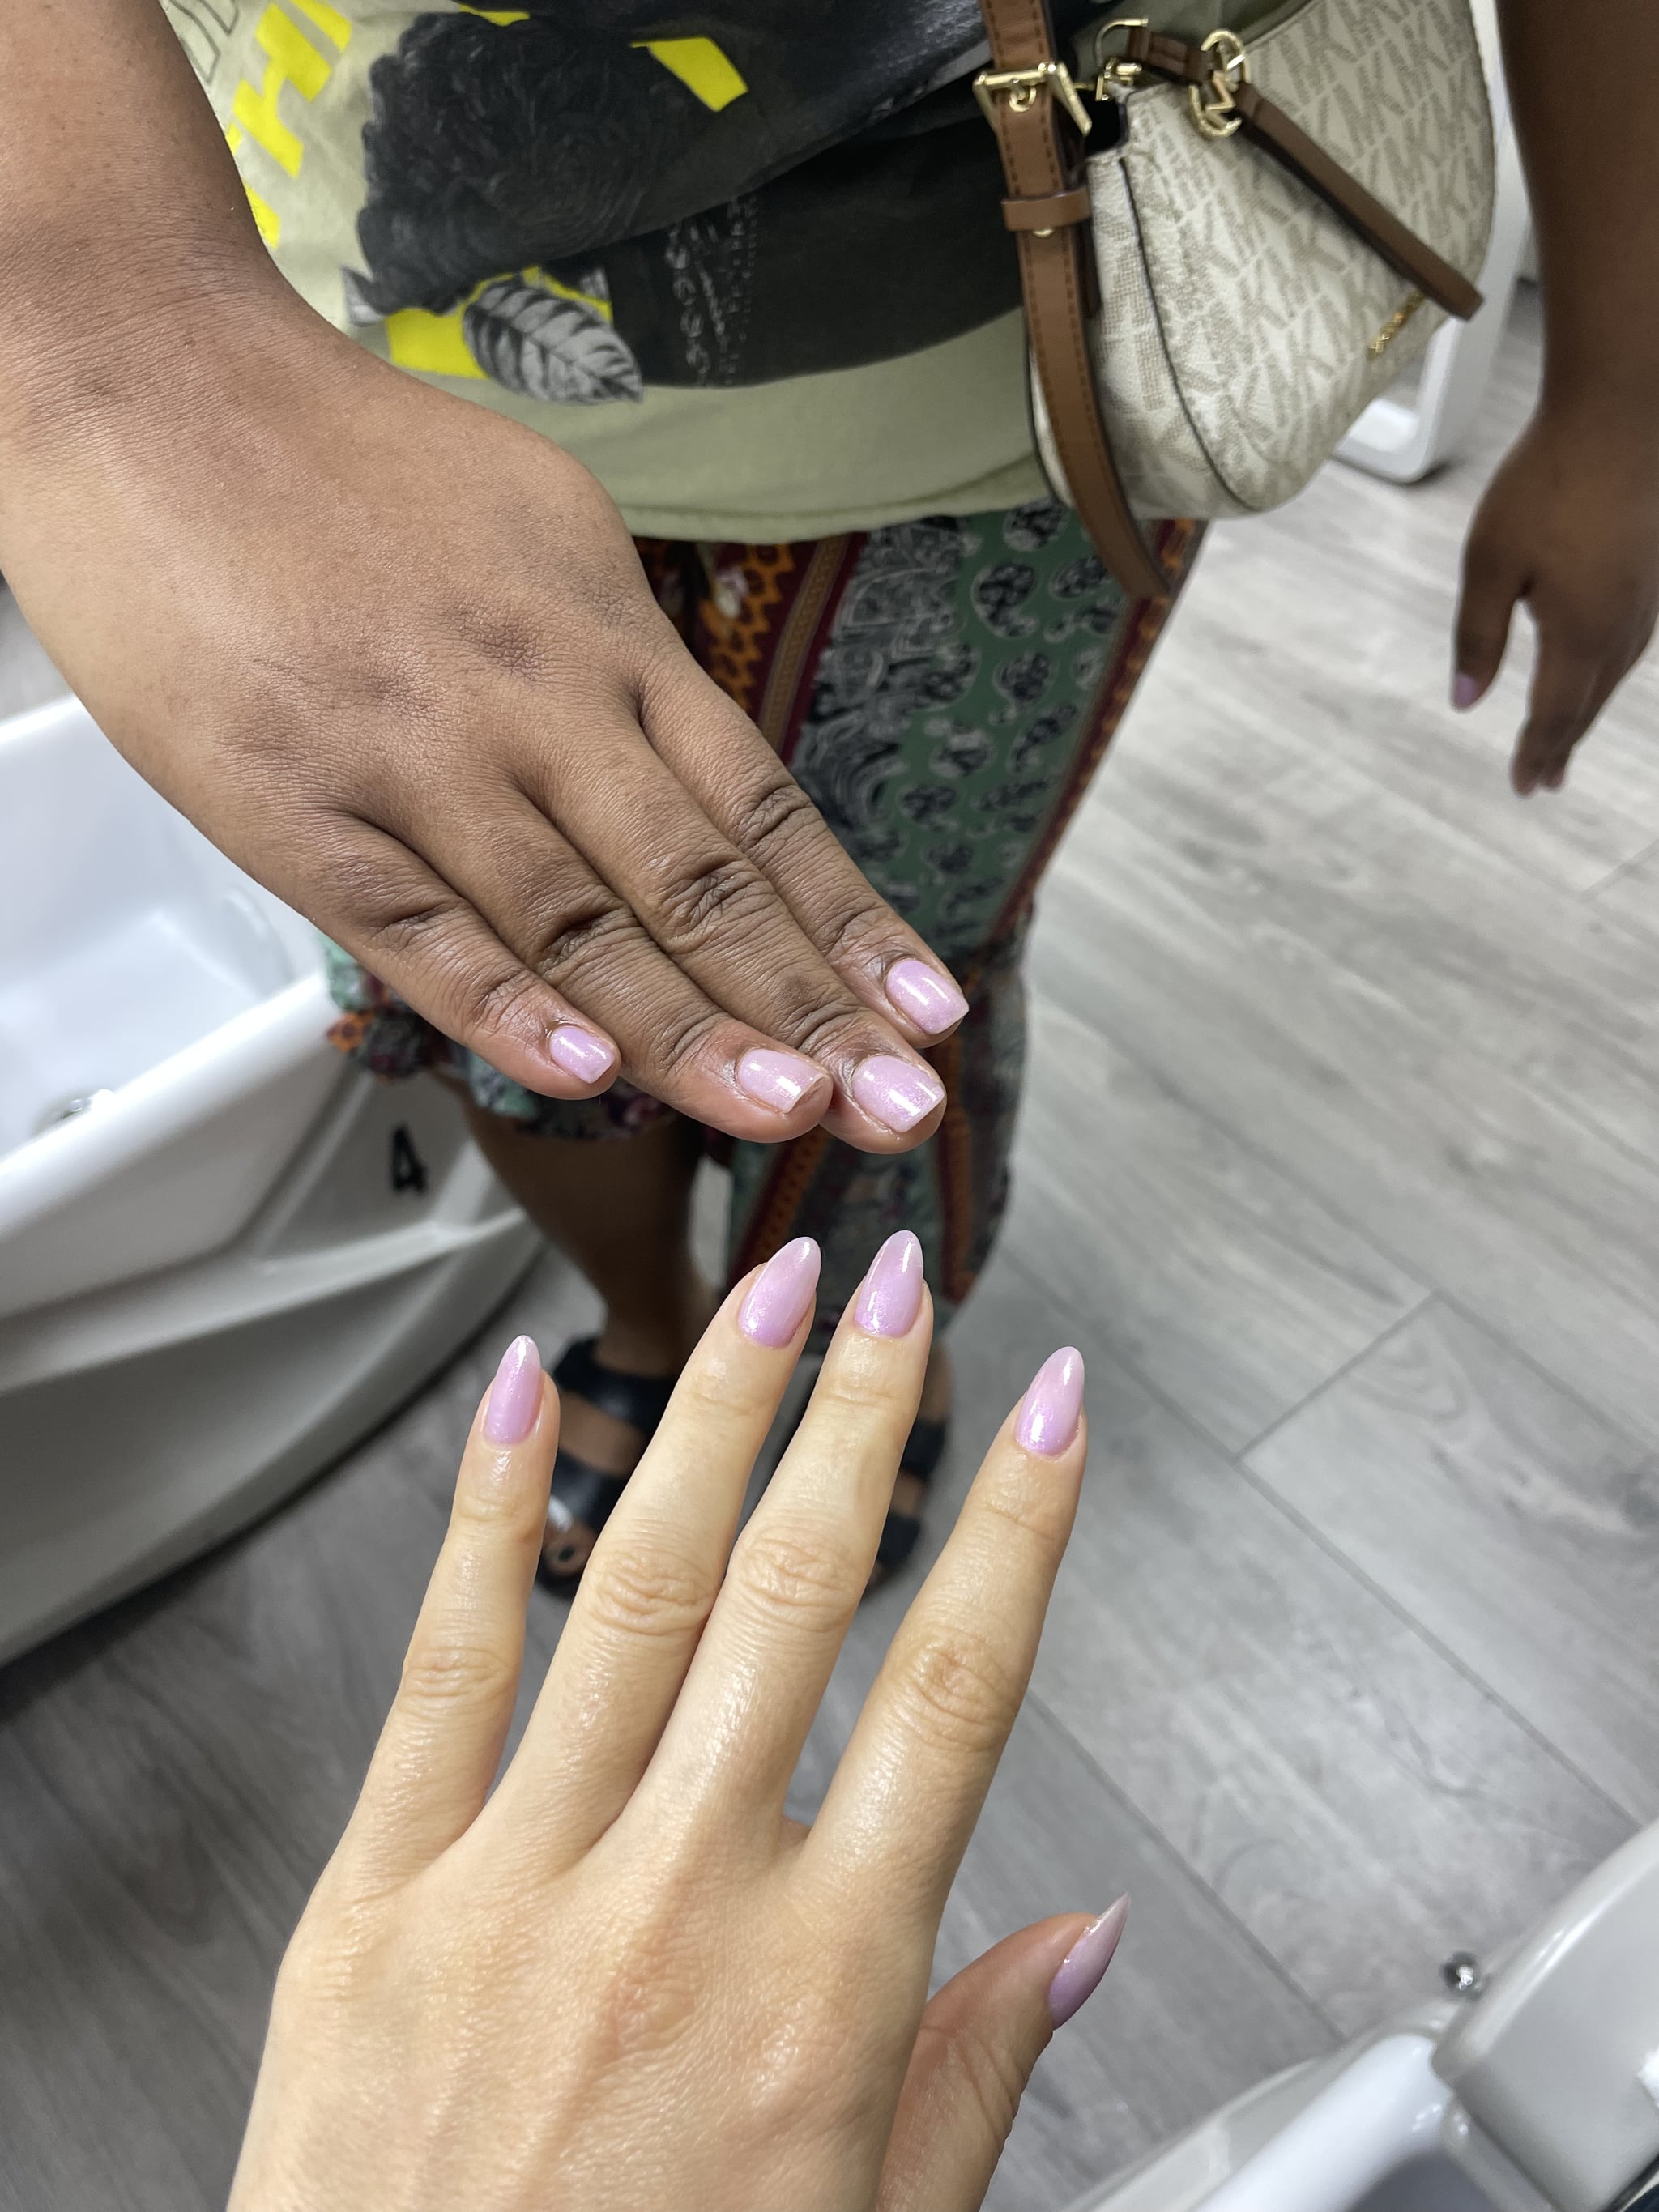
The final look was the perfect shade: a milky white with a hint of lavender and a tint of chrome. It wasn’t too colorful (which is more than my minimalist heart can handle), but it wasn’t too plain, either. The final result was so good, in fact, that a woman at the nail salon actually asked for my exact nail combo. (Shout-out to Mercedez; I hope you love your digital-lavender birthday nails!)
Plus, my manicure went with every single one of my Coachella outfits, from my most daring and colorful to my most muted and basic. When we said digital-lavender nails were the new neutral, we weren’t kidding.
Source: Read Full Article

